![Group 1261151152.png]](https://support.warmy.io/hs-fs/hubfs/Group%201261151152.png?width=50&height=50&name=Group%201261151152.png)
This guide walks you through setting up an n8n automation that syncs your Warmy seed list with Feedxo.io and keeps it updated and rotated automatically. By the end of this setup, your seed list will be dynamically managed with no manual intervention needed 😊
What You'll Need
Before getting started, make sure you have:
- A Warmy.io account with an active seed list
- A Feedxo.io account
- An n8n paid account (cloud or self-hosted)
Part 1 — Setting Up Feedxo
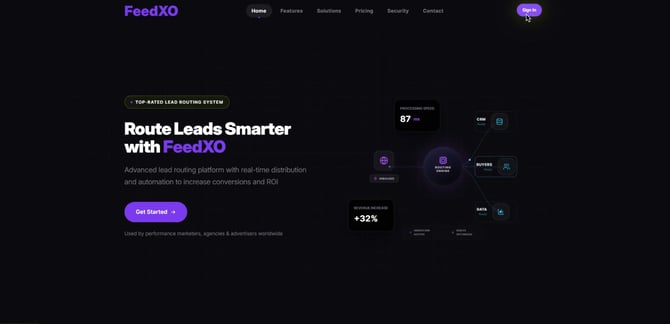
Step 1, Log in to Feedxo
Launch the app and sign into your account to access the platform's lead routing features.
Step 2, Add a Vendor.
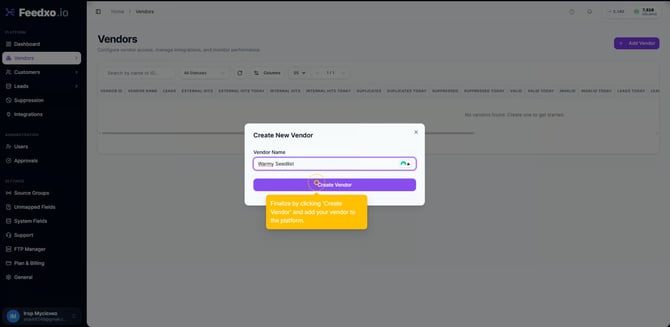
Navigate to the Vendor section and click Add Vendor. Enter a name for your new vendor profile and click Create Vendor to save it.
Step 3, Add Two Sources.
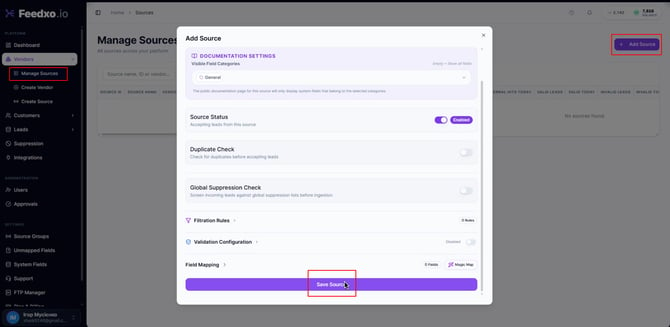
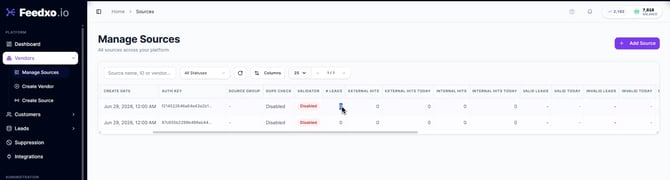
Each vendor needs two sources — one for your active seeds and one for holding seeds.
Go to Manage Sources and click Add Source. Select your vendor, give the source a clear name (for example "Active" for active seeds and "Holding" for seeds in the holding queue), and click Save Source.
Repeat the process to create the second source.
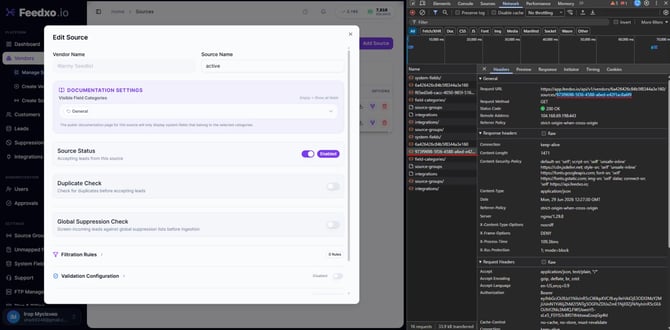
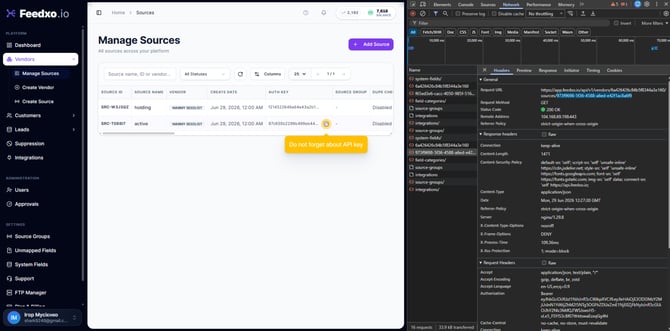
Step 4, Retrieve Source UUIDs and API Keys.
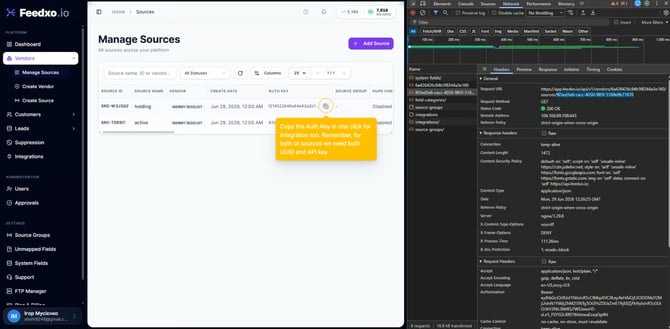
This step is important for the n8n integration. You need to collect the UUID and API key for both sources.
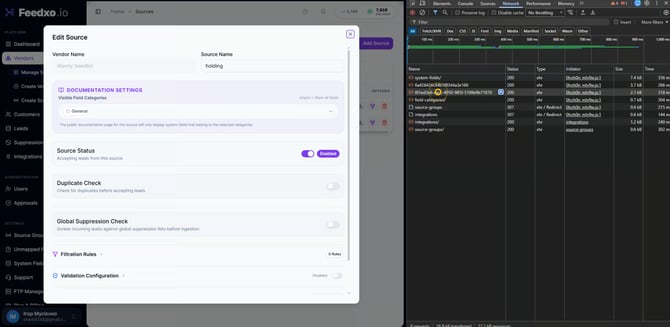
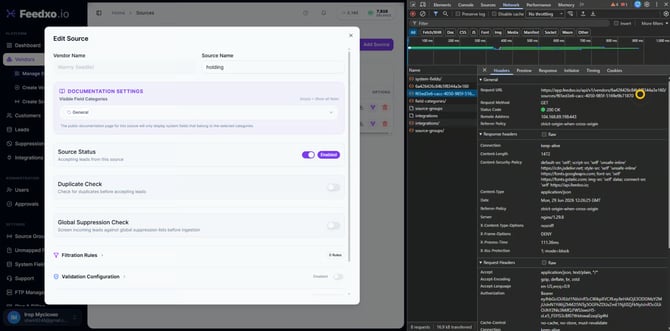
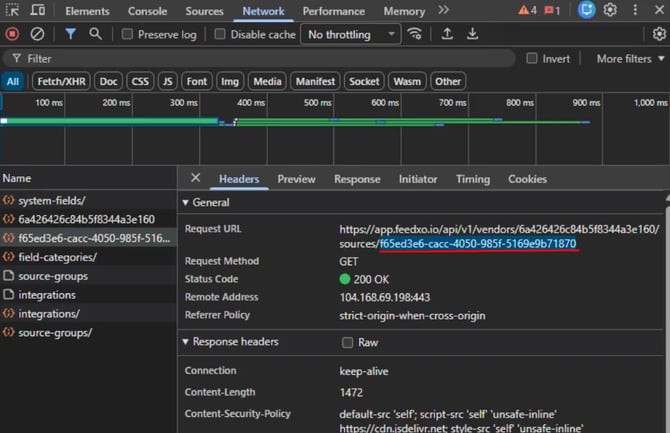
For each source, click the Edit button and press F12 to open the browser developer tools. In the network activity, locate the request that contains the source UUID. Copy and save both the UUID and the API key somewhere accessible — you will need these when configuring the n8n workflow.
Repeat for both the Active source and the Holding source.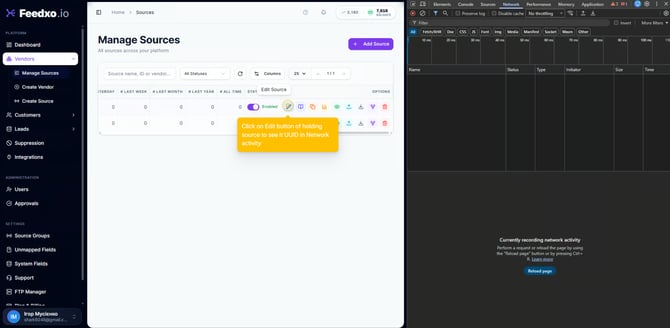
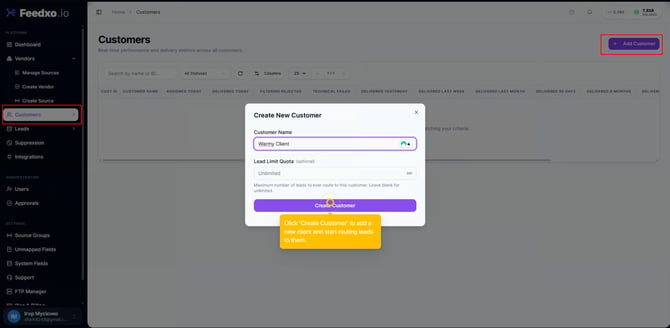
Step 5, Add a Customer.
Switch to the Customers section and click Add Customer. Enter the customer name and click Create Customer.
Step 6, Set Up an Endpoint.
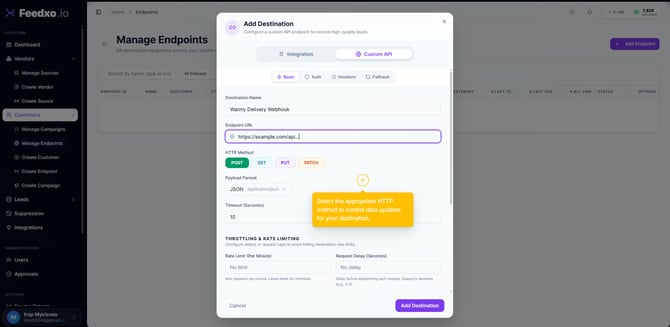
Expand the customer's options and go to Manage Endpoints. Click Add Endpoint, select your customer, and continue. Enter the endpoint URL and select the appropriate HTTP method. Click Add Destination to save.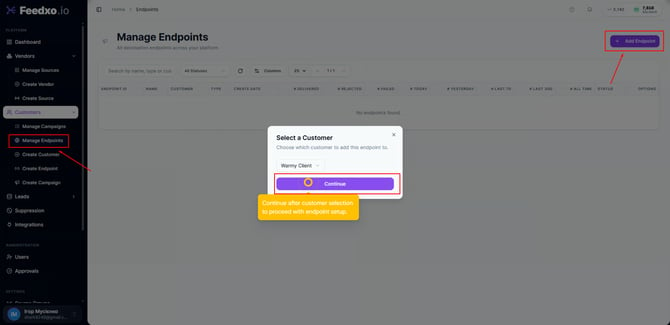
Step 7, Create a Campaign.
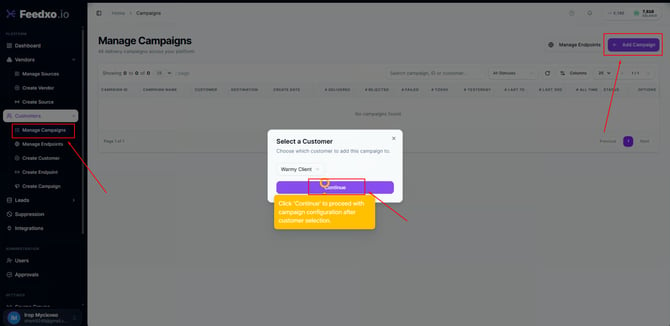
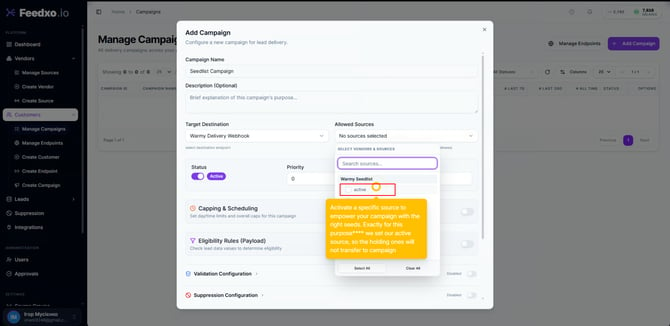
Go to Manage Campaigns and click Add Campaign. Select your customer and continue. Give your campaign a name and choose your delivery endpoint.
Under Allowed Sources, select only your Active source — the Holding source should not transfer seeds directly to the campaign.
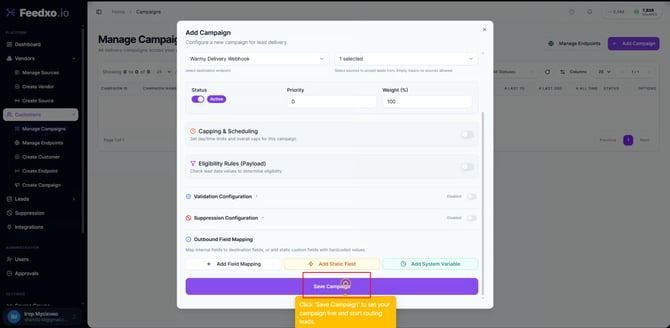
Click Save Campaign to activate it.
Part 2 — Configuring the n8n Workflow
Step 8, Open the n8n Workflow.
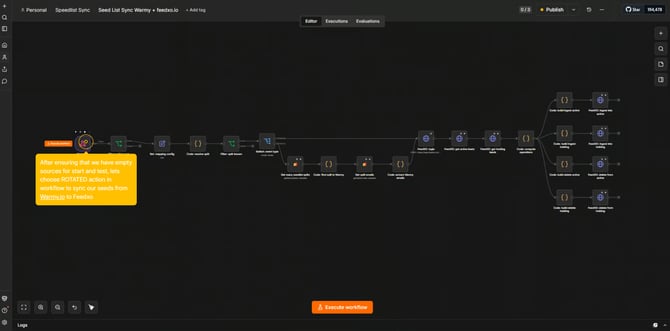
In n8n, open the workflow designed for rotating and syncing seeds from Warmy to Feedxo
Step 9, Configure the Mapping Node.
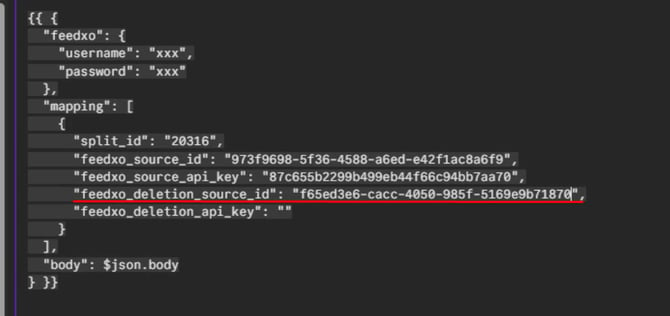
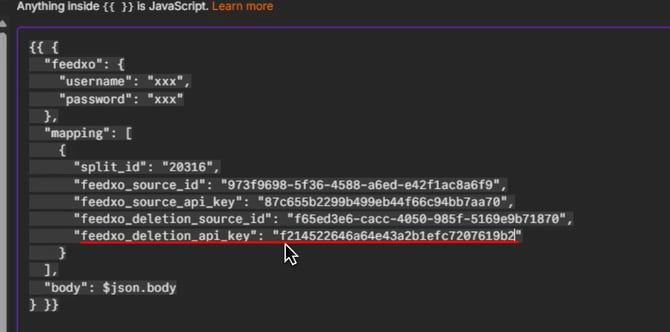
Select the Get Mapping Config node and open the JSON parameters. In the configuration, fill in the following fields: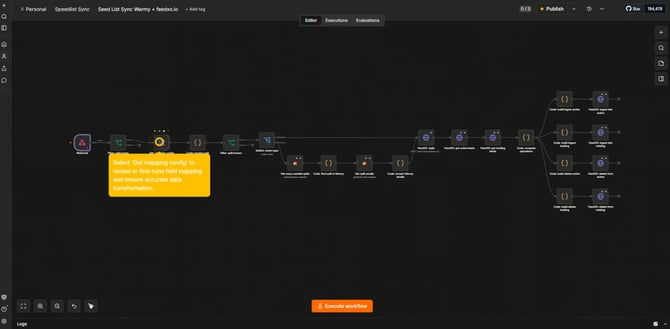
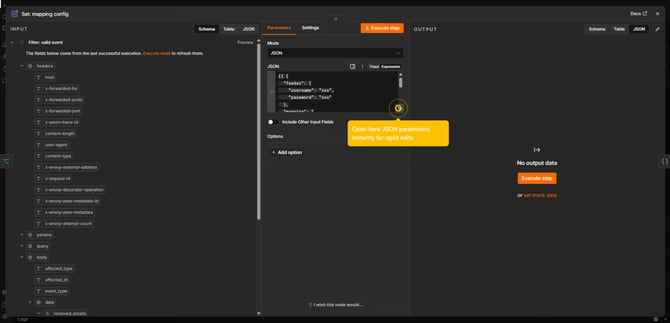
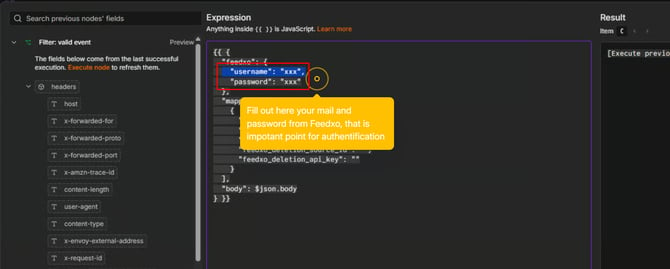
- Feedxo email and password — your Feedxo.io login credentials
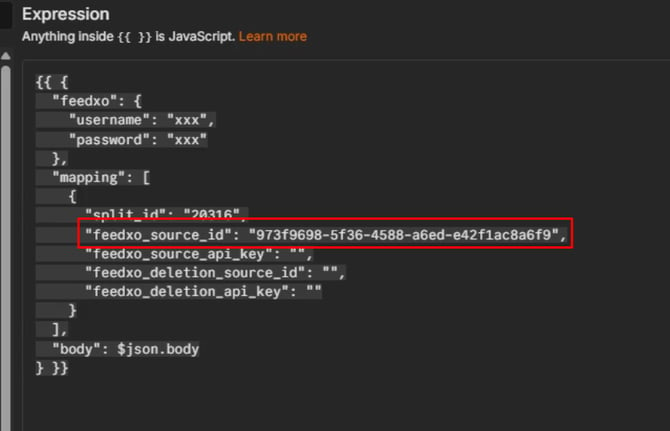
- feedxo_source_id — the UUID of your Active source
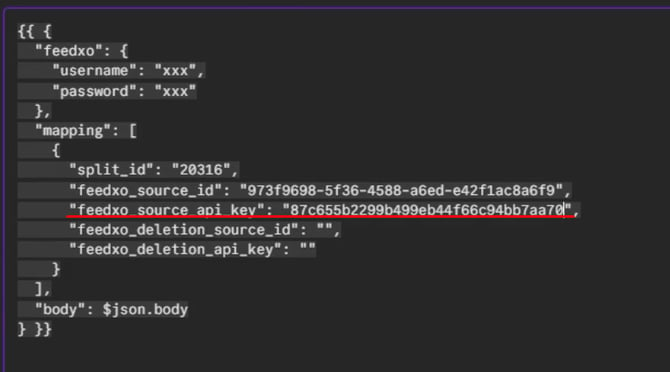
- feedxo_source_api_key — the API key of your Active source
- feedxo_deletion_source_id — the UUID of your Holding source
- feedxo_deletion_api_key — the API key of your Holding source
Step 10, Execute the Workflow.
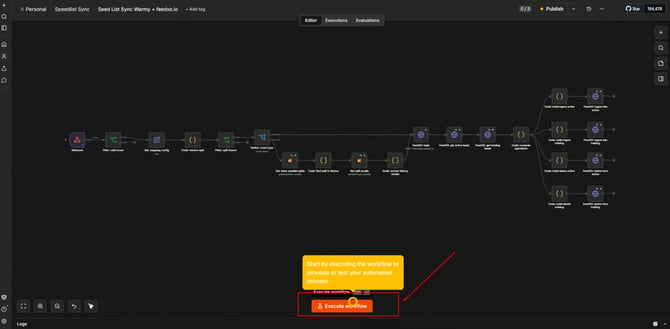
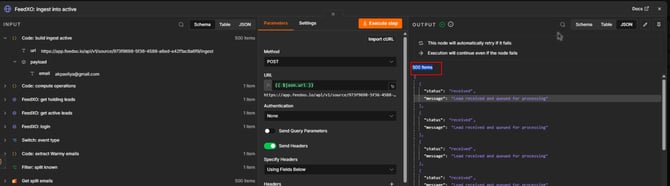
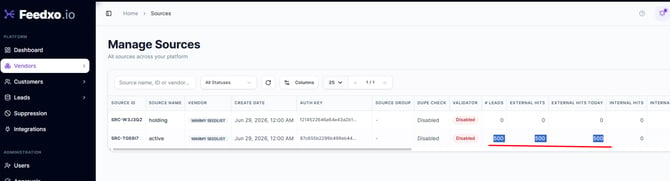
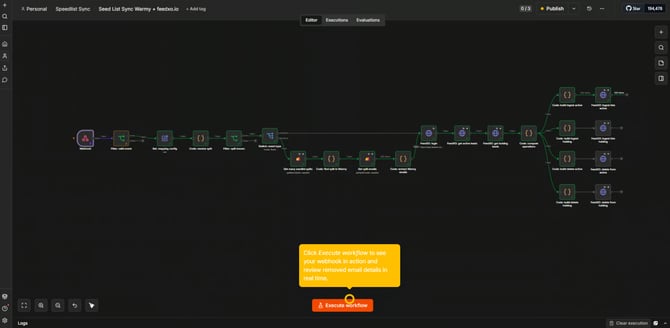
Click Execute Workflow to run the automation and test the integration. Once the workflow completes, switch back to your Feedxo.io tab and verify the results.
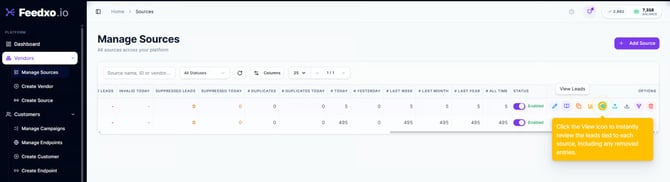
You should see that your Warmy seed list (for example, 500 seeds) has been successfully synced across to Feedxo.io (it can take some time)
Should look like this after: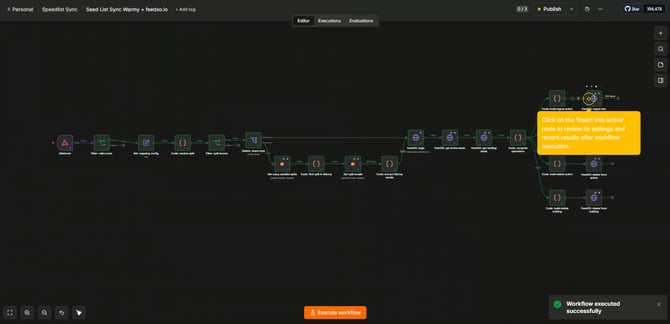
Part 3 — Testing the Webhook
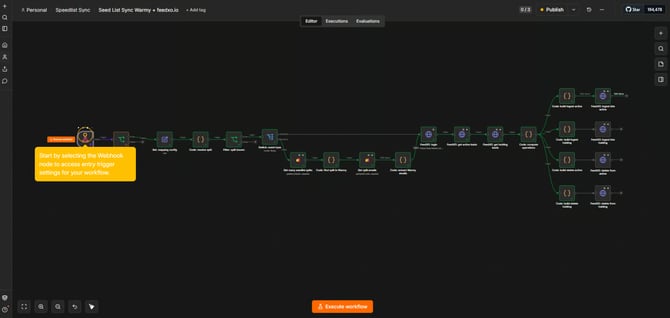
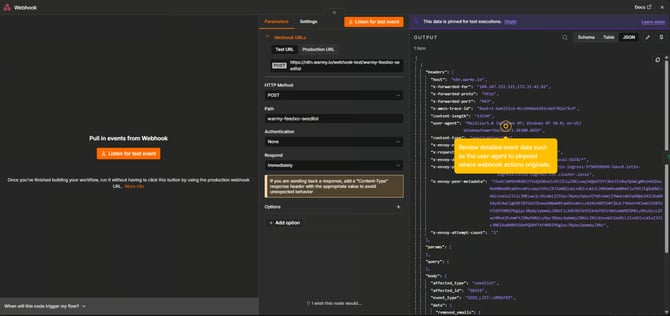
Step 11, Select the Webhook Node.
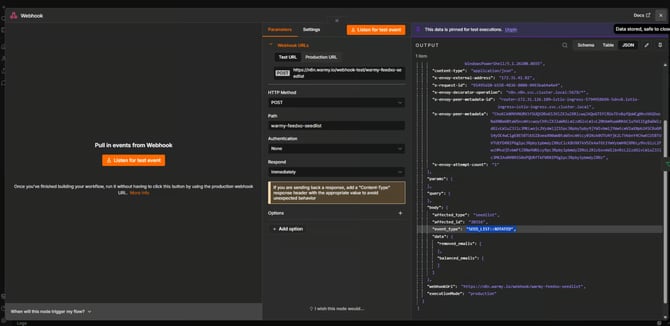
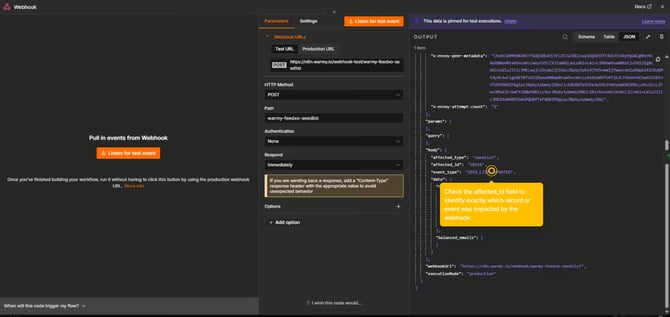
In the n8n workflow, select the Webhook node to review its trigger settings. You can inspect event data, such as the user agent and affected record IDs to confirm the webhook is firing correctly.
Step 12, Test an Update Event.
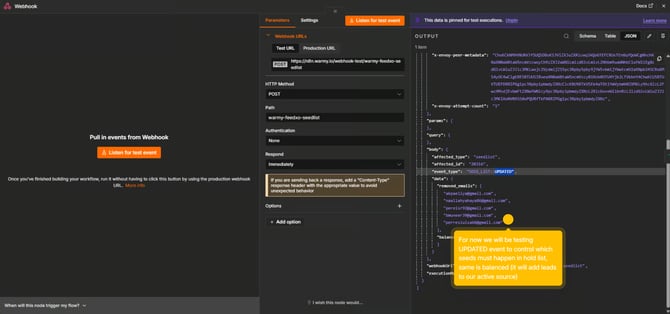
To verify the rotation logic, trigger an Updated event. This tests which seeds move to the holding list and which are added to the active source. You can inspect the removed email addresses in the workflow output to confirm the logic is working as expected.
Click Execute Workflow to run the test and review the results in real time.
Step 13, Verify in Feedxo.io.
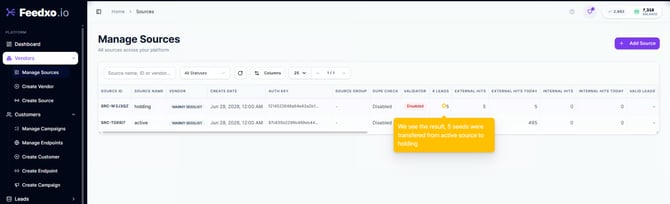
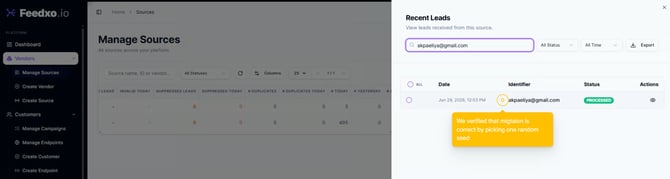
Switch back to Feedxo.io and go to Manage Sources under your vendor to confirm that the seed data has been updated correctly. You can also check the campaign results under Manage Campaigns to see how many seeds were processed.
✅ All Done!
Your n8n automation is now set up to automatically sync and rotate your Warmy seed list on Feedxo.io. The workflow will handle daily updates, ensuring your seed recipients stay fresh and varied over time — with no manual effort required.