![Group 1261151152.png]](https://support.warmy.io/hs-fs/hubfs/Group%201261151152.png?width=50&height=50&name=Group%201261151152.png)
🎧 Prefer to listen? Hit play to hear this article read aloud. 🔊

📼 Video instructions:
Before you start
You will need:
- Access to your Warmy dashboard
- Access to your SendGrid account
- A sender email address that is already verified under Sender Authentication in SendGrid
- A mailbox that can receive email (for example, Gmail), since SendGrid does not provide an IMAP server
Quick reference: SendGrid settings
| Field in Warmy | What to enter |
|---|---|
| Email address | The sender email address verified in SendGrid under Sender Authentication |
| Send From name | The name your recipients will see |
| SMTP username | apikey |
| SMTP password | Your SendGrid API key |
| SMTP host | smtp.sendgrid.net (filled in automatically) |
| SMTP port | Filled in automatically |
How to connect IMAP
How to connect SMTP
Step 1: Add a new sender in Warmy
From your Warmy dashboard, click + Add Sender. Then select SendGrid from the list of providers.
Step 2: Enter your email address
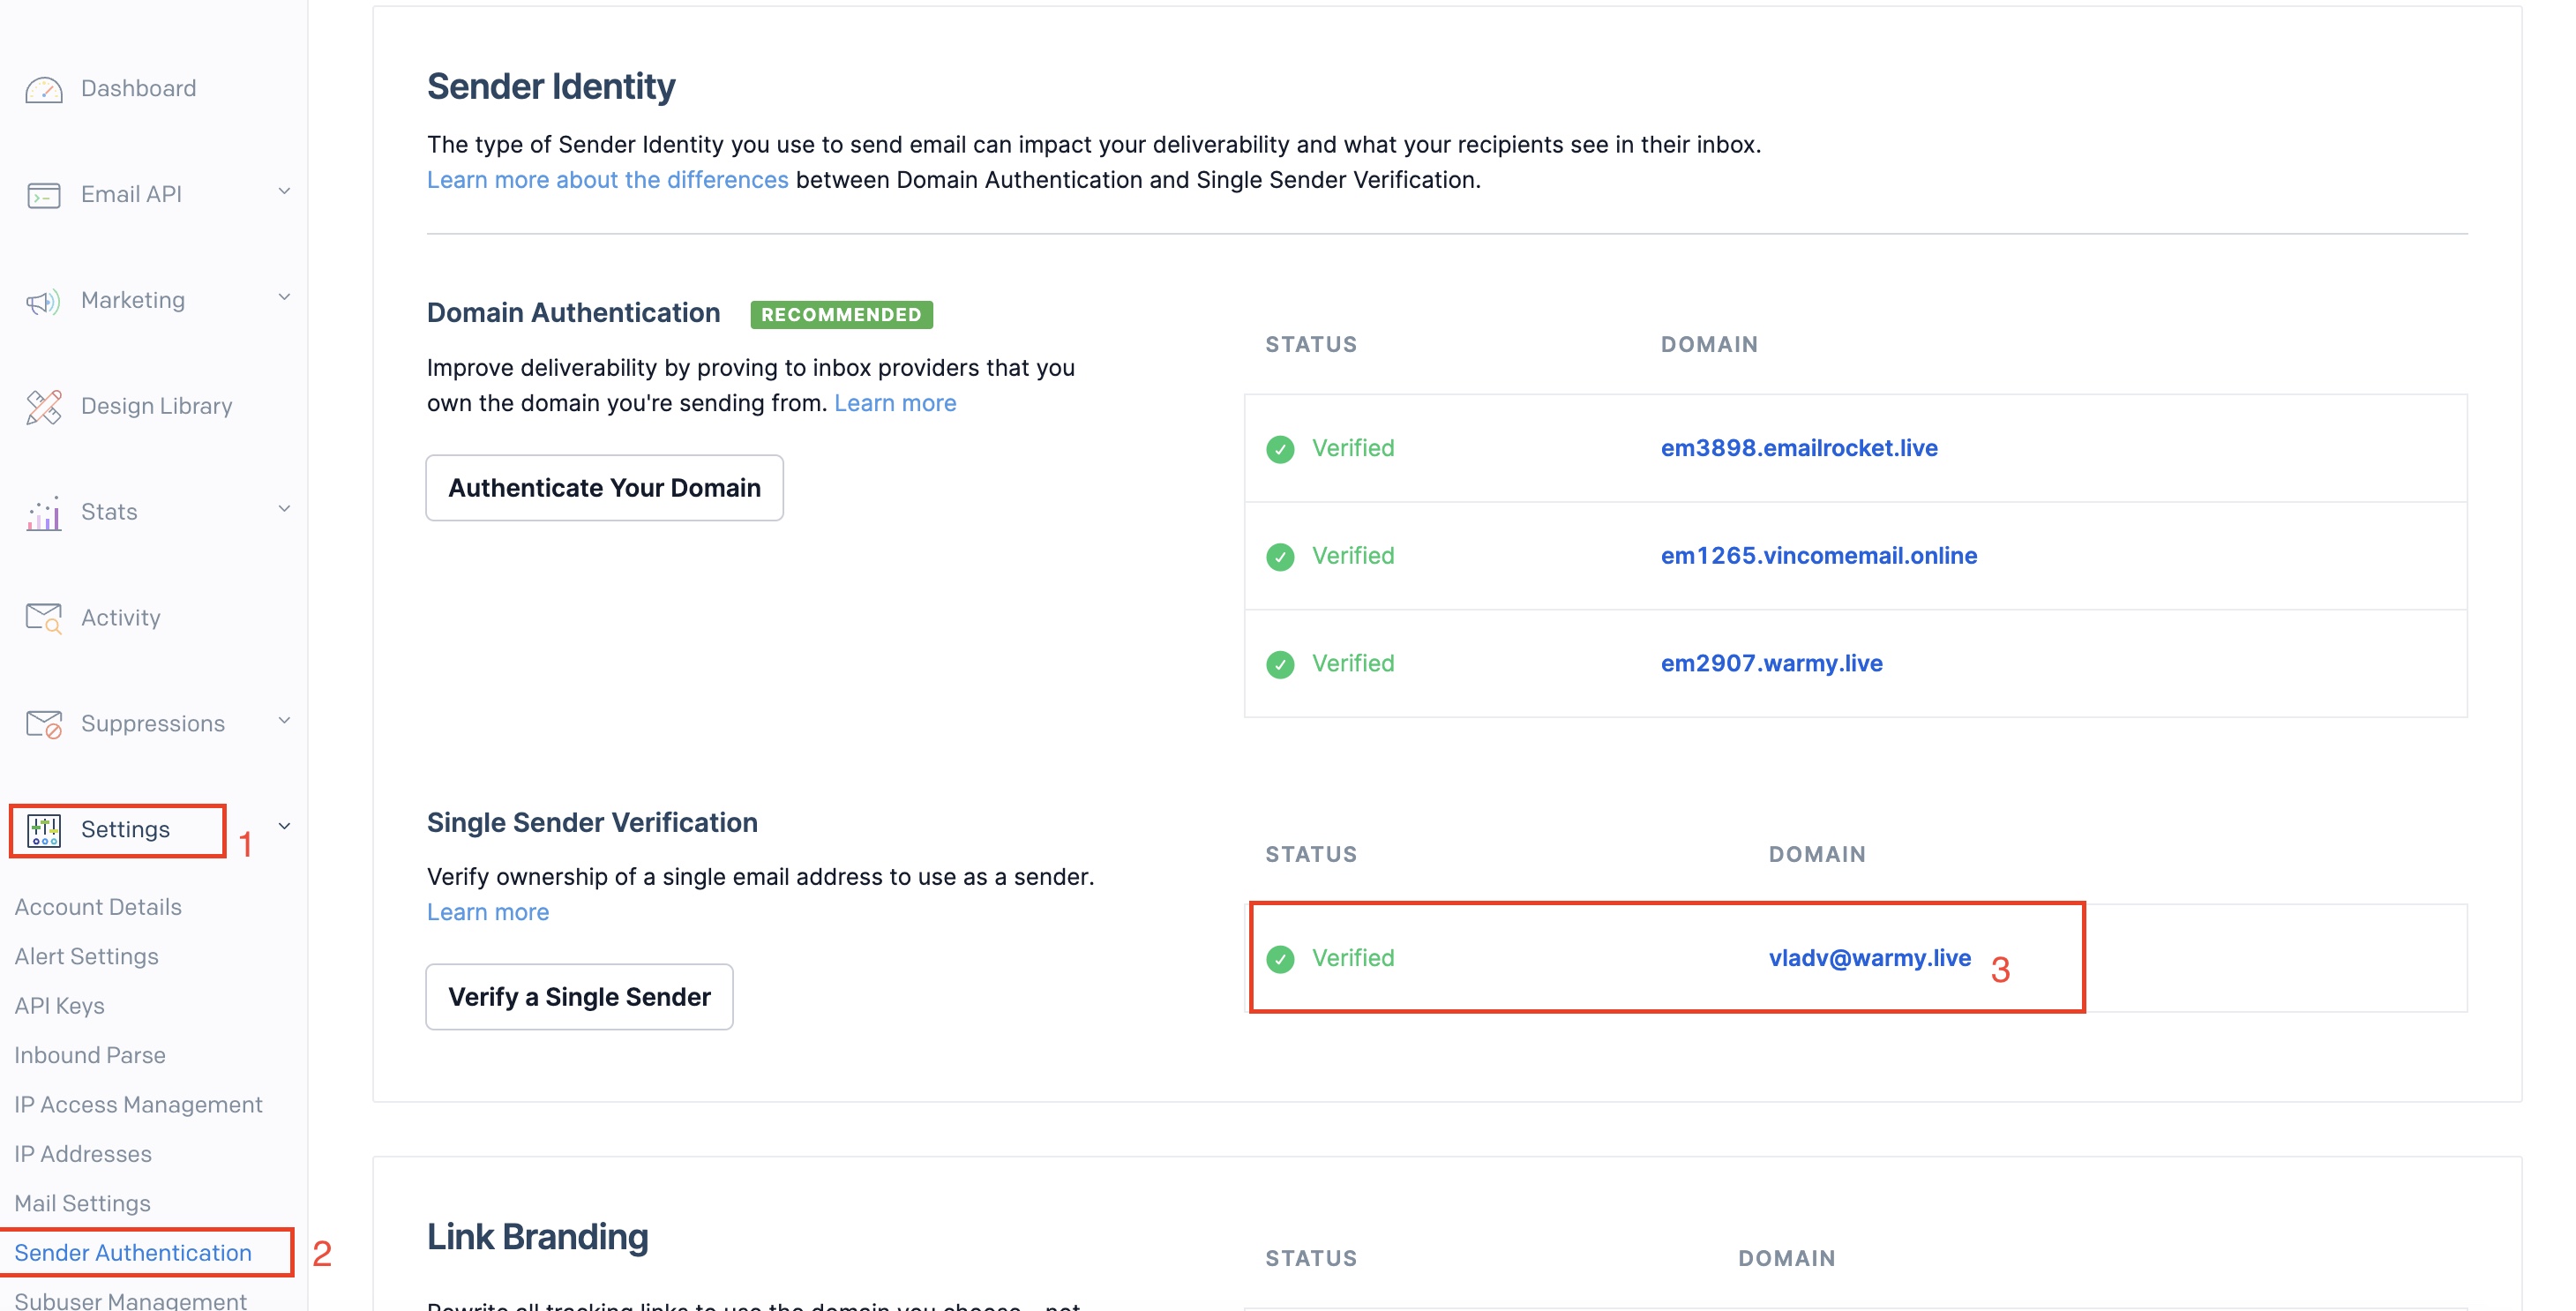
The email address you enter in Warmy must be the same one you have authenticated in SendGrid. To confirm it:
- In your SendGrid portal, click Settings and select Sender Authentication.
- Find the Single Sender section and copy the sender email address.
- Go back to Warmy and paste it into the Email address field.
Step 3: Enter a Send From name
Enter a Send From name. This is the name the recipients of your emails will see. It does not have to be your personal name; it can be a company, team or brand name.
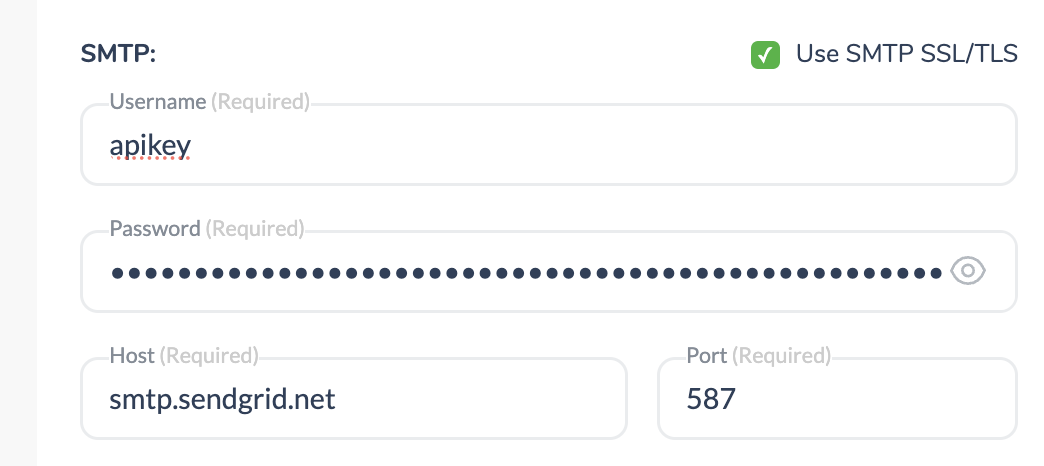
Step 4: Enter the SMTP username
For SendGrid, the SMTP username is always the word apikey. Type it exactly like that. It is not your SendGrid login, and it is not the API key itself.
Paste in field

Create an API key and use it as the SMTP password
The SMTP password is an API key that you generate in your SendGrid account:
- In SendGrid, click Settings and select API Keys.
- At the top right of the API Keys page, click Create API Key.
- Enter a name for the API key (for example, "Warmy").
- Select the permission for the key, then click Create.
- Copy the API key and save it somewhere safe. This key is the password for your SendGrid connection.
- Go back to Warmy and paste the API key into the SMTP password field.
IMPORTANT! Set the API key permission to Full Access. This lets Warmy automatically track problems in sending emails and prevent them, so warm-up emails are not sent to unwanted or inaccessible email addresses.
Step 6: Check the SMTP host and port
The SMTP host and port are filled in automatically, based on the default host and port that SendGrid uses. The SMTP host for SendGrid is smtp.sendgrid.net. You do not need to change these values.
How to connect IMAP
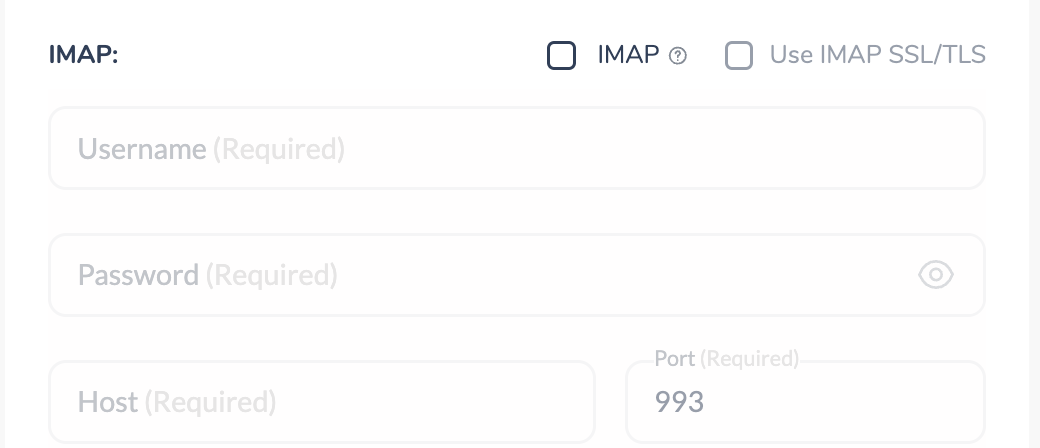
SendGrid does not have an IMAP server and does not support IMAP connections, so SendGrid's own IMAP cannot be used in Warmy.
Instead, you can use another mailbox that can accept email, such as Gmail (the IMAP host is imap.gmail.com).
The IMAP username (for example, your Gmail email address) and the email address you entered in the SMTP section must be the same. Otherwise, Warmy will not be able to track and process warm-up emails.
Connect the mailbox
After entering all the required information, click Connect. And voilà! Your mailbox is successfully connected and has started warming up. 🔥
Need help? Schedule a call with us 👨🏻💻
Três pontos para você confirmar antes de publicar:
- IMAP: o áudio diz "we will need to turn off IMAP" e, na mesma frase, que dá para usar outra caixa como o Gmail. Segui o artigo atual (usar outra caixa com o mesmo endereço) e não mencionei desligar o IMAP. Se a tela da Warmy tem mesmo um botão para isso, vale acrescentar uma frase.
- Permissão da API key: o áudio diz apenas "select the permission that you wish". Mantive o aviso de Full Access do artigo atual.
- Porta SMTP: o áudio só diz que é preenchida automaticamente, então não coloquei número.
IMPORTANT! In order to avoid sending warm emails to unwanted or inaccessible email addresses, you need to change the permissions in the settings to "Full Access". Then Warmy will automatically be able to track problems in sending emails and prevent them.

Copy

Paste in field

Step 3:
“SMTP username” for SendGrid: “apikey”
Step 4:
“SMTP host” for SendGrid: smtp.sendgrid.net
How to connect IMAP
IMAP
Since SendGrid does not have an IMAP server, you can use another mailbox that can accept email, such as Gmail (the host is imap.gmail.com). IMAP username (Gmail email address) and the email address you specified in the SMTP field should be the same. Otherwise, Warmy will not be able to track and process warm-up emails.
It remains only to click on the "Connect" button, and voila! Done, your mailbox is successfully connected and has started warming up.🔥