![Group 1261151152.png]](https://support.warmy.io/hs-fs/hubfs/Group%201261151152.png?width=50&height=50&name=Group%201261151152.png)
Steps to Connect Mailjet to Warmy
-
Log in to Warmy and Add a Mailbox
Open your Warmy account and click the '+ Mailbox' button to start adding a new mailbox. -
Select Mailjet as Your Provider
Choose Mailjet from the list of email providers available in Warmy.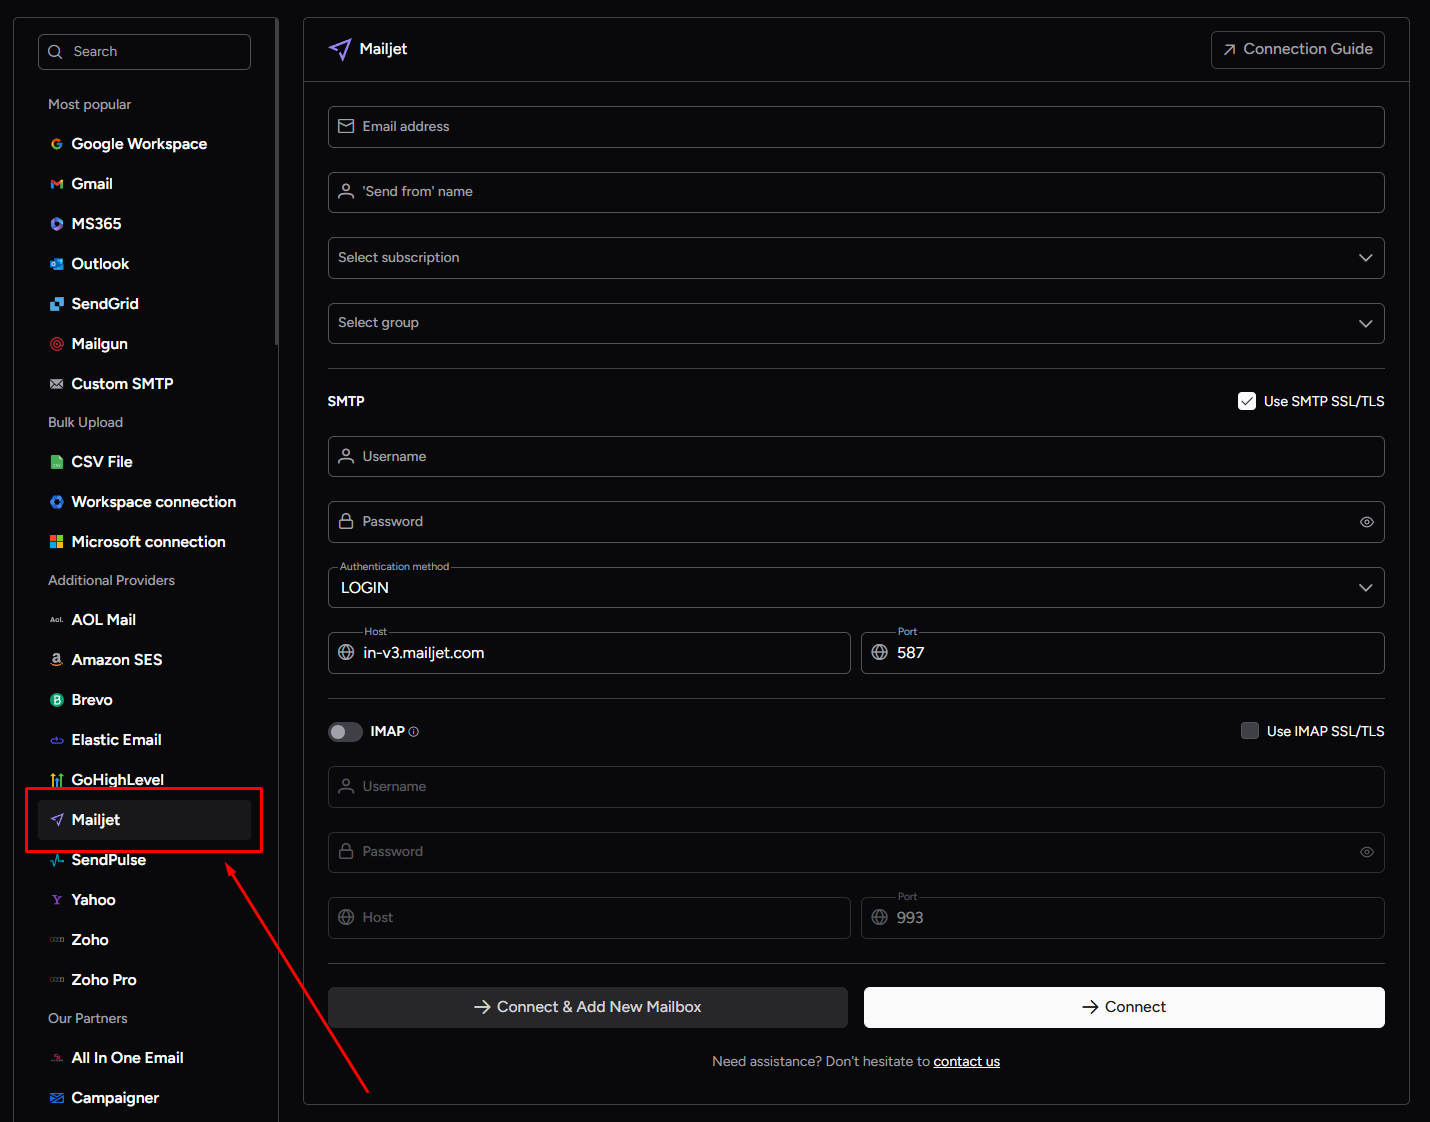
-
Enter Your Sender Email Address
Type in the sender email address you want to use for your outreach. -
Fill in the 'Send From' Name
Enter the name that will appear in your email signature. -
Choose Your Plan
Select the plan that best fits your needs. -
Turn off IMAP
Since Mailjet doesn’t support IMAP, disable IMAP in Warmy. If you have a mailbox with the same address on a provider that supports IMAP (like Gmail), you can use that instead. -
Access Mailjet and Get API Key
Log in to your Mailjet account, go to ‘Account Settings’ and then to ‘SMTP & SEND API Settings.’ Copy the API key, which will act as the SMTP username. -
Generate and Copy Secret Key
Create a secret key under ‘SMTP & SEND API Settings.’ Copy this key to use as the SMTP password. -
Enter Host and Port
In Warmy, set the host to ‘in-v3.mailjet.com’ and the port to ‘587’ -
Click Connect
Finally, click 'Connect' in Warmy to finalize the integration.
Once done, your Mailjet account will be fully connected to Warmy, and the email warm-up process will begin!