


Setting SMTP (Simple Mail Transfer Protocol)
It is the foundational protocol used for sending emails across the internet. Properly configuring SMTP is essential because it dictates how outgoing messages are authenticated and routed by receiving mail servers. For email warm-up and deliverability, accurate SMTP configuration ensures your messages are securely transmitted, accurately tracked, and consistently reach the primary inbox rather than being flagged as spam.
Steps to Configure Brevo in Warmy
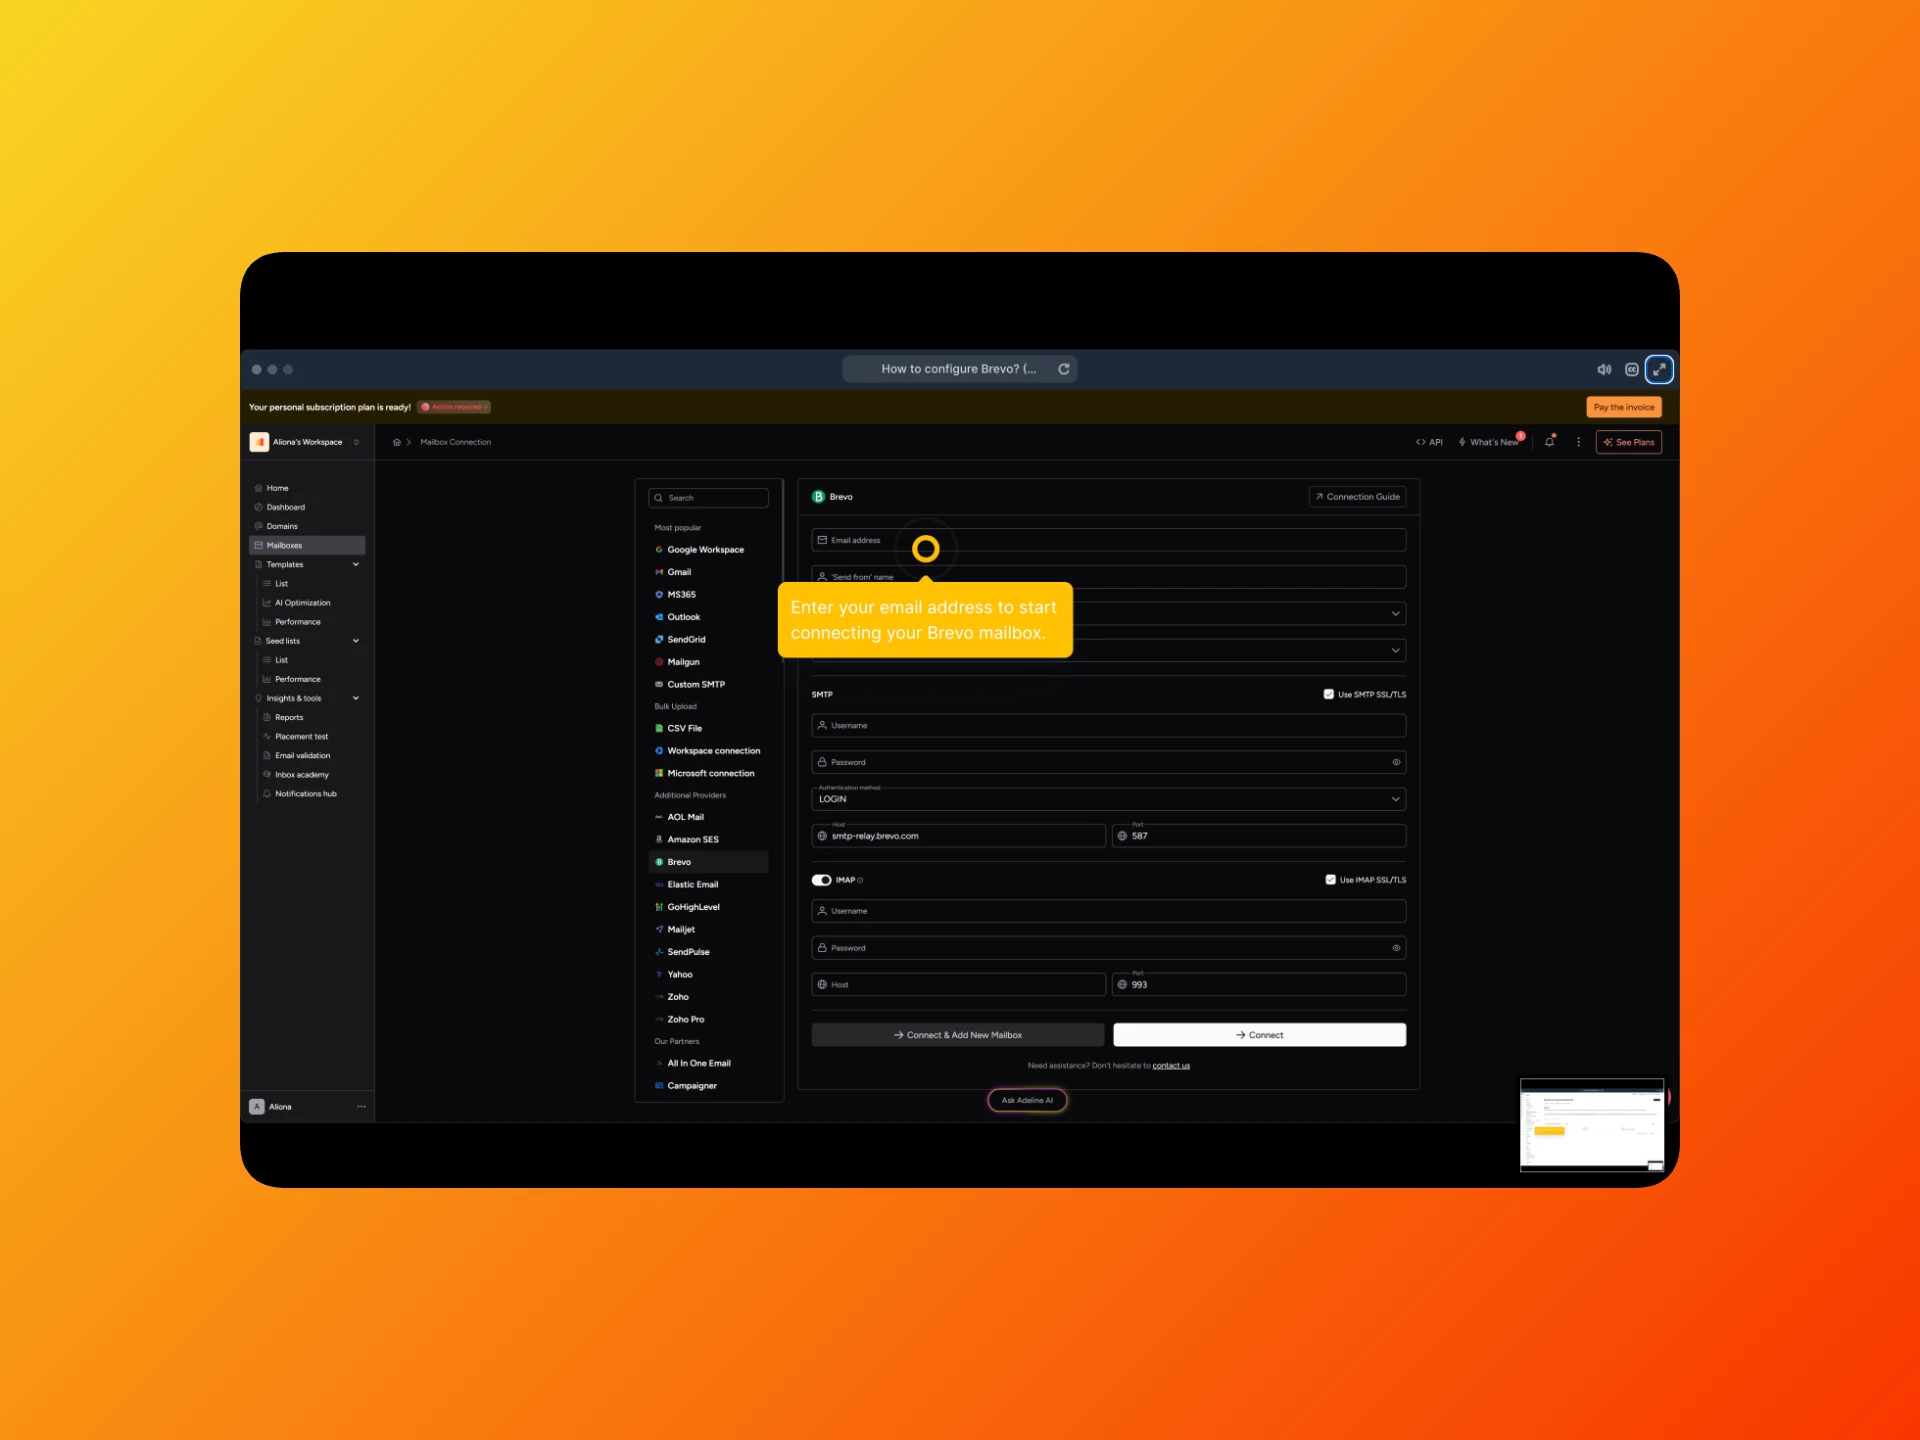
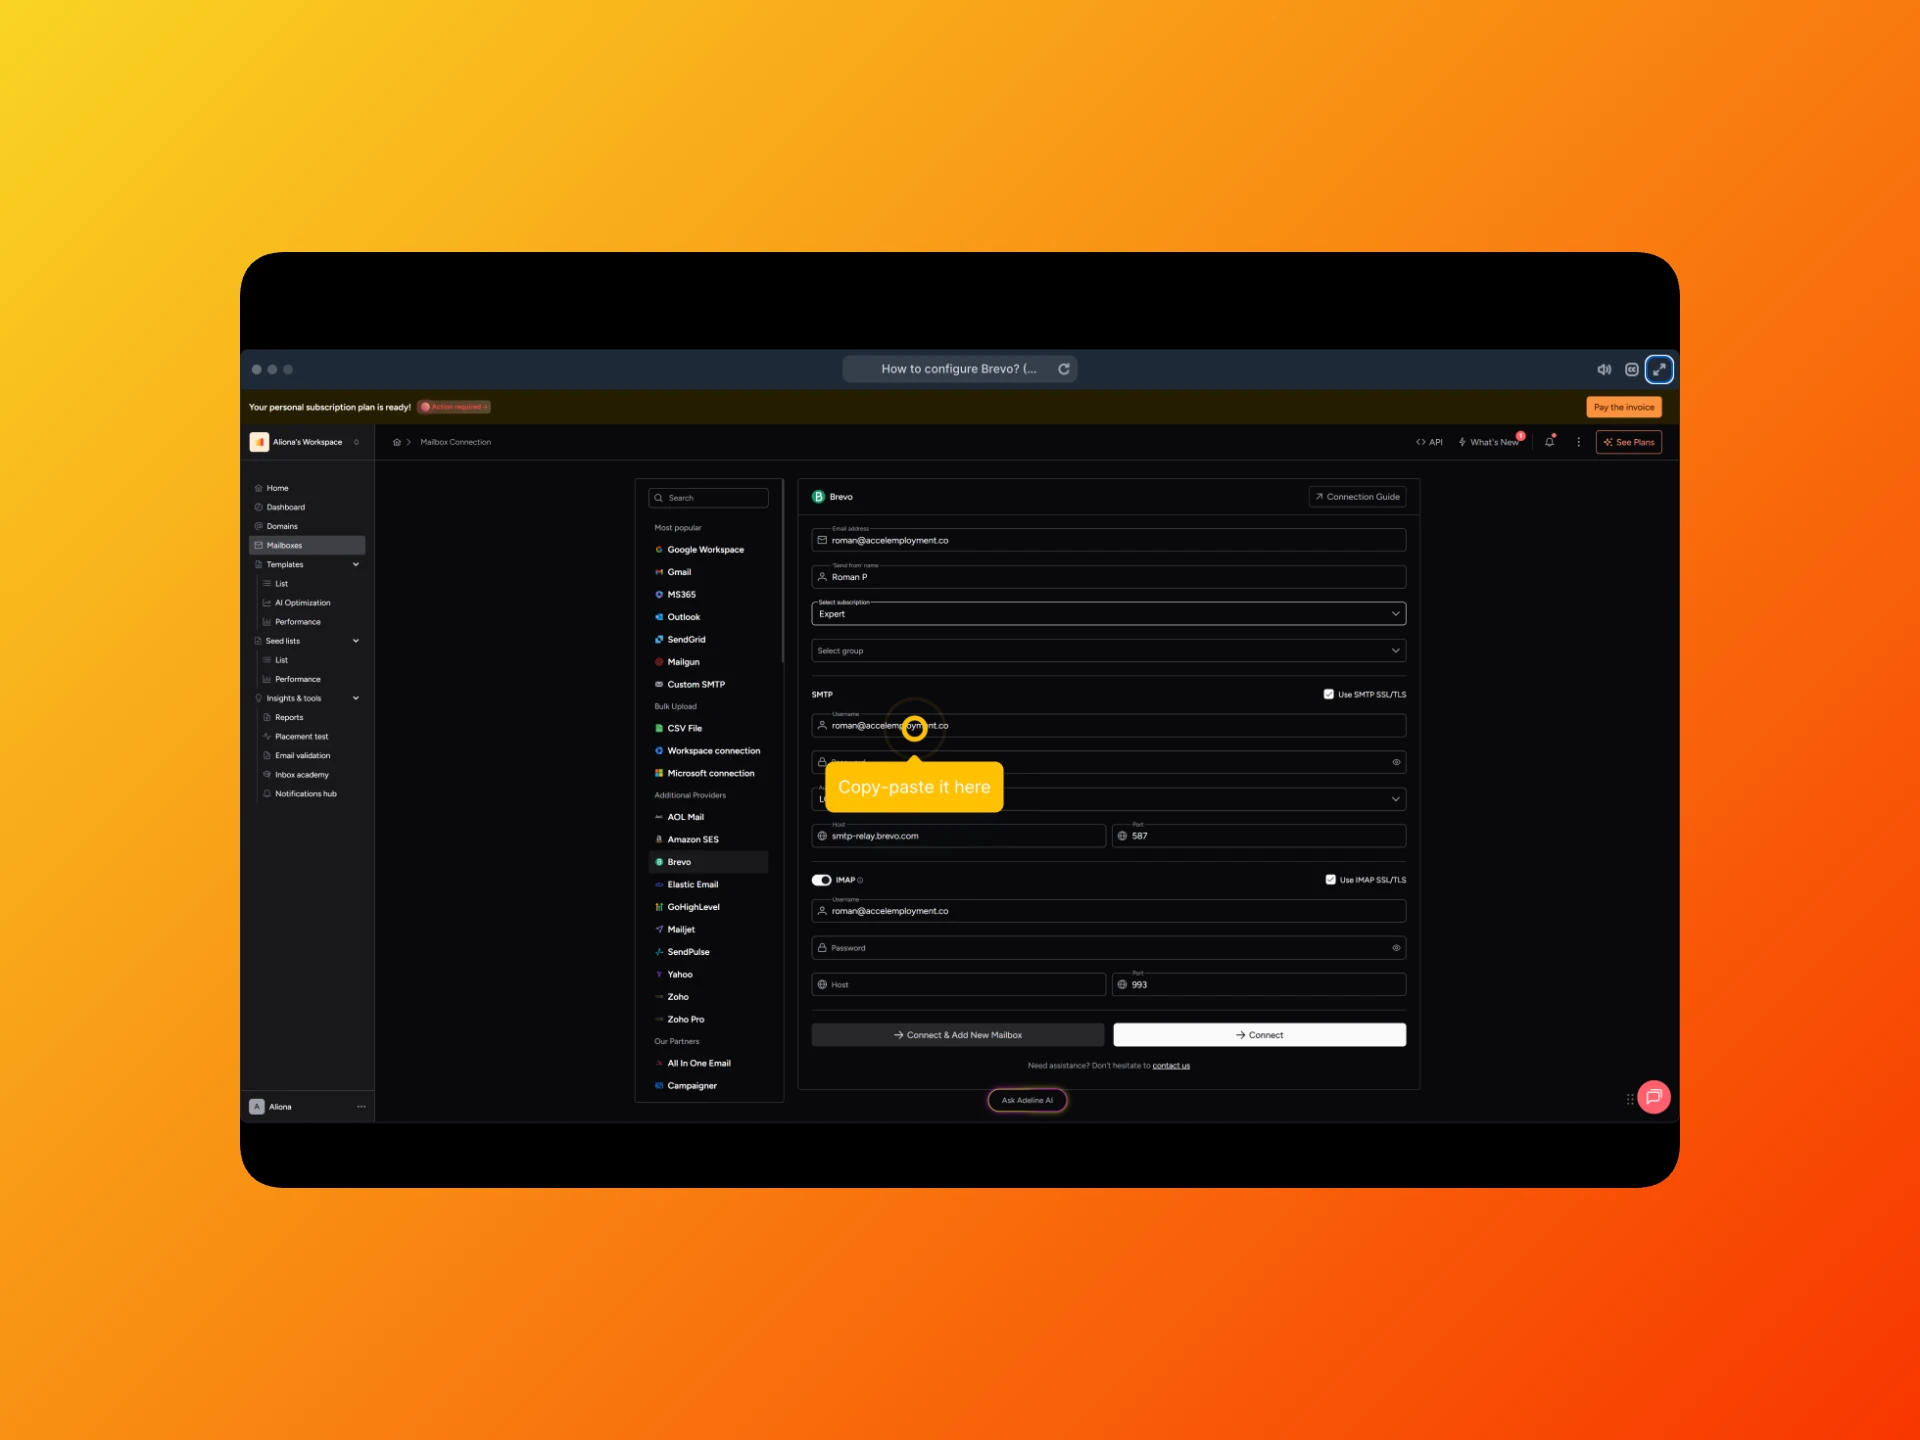
- In your Warmy workspace, add a new mailbox and select Brevo.
- Enter the email address you want to connect to.
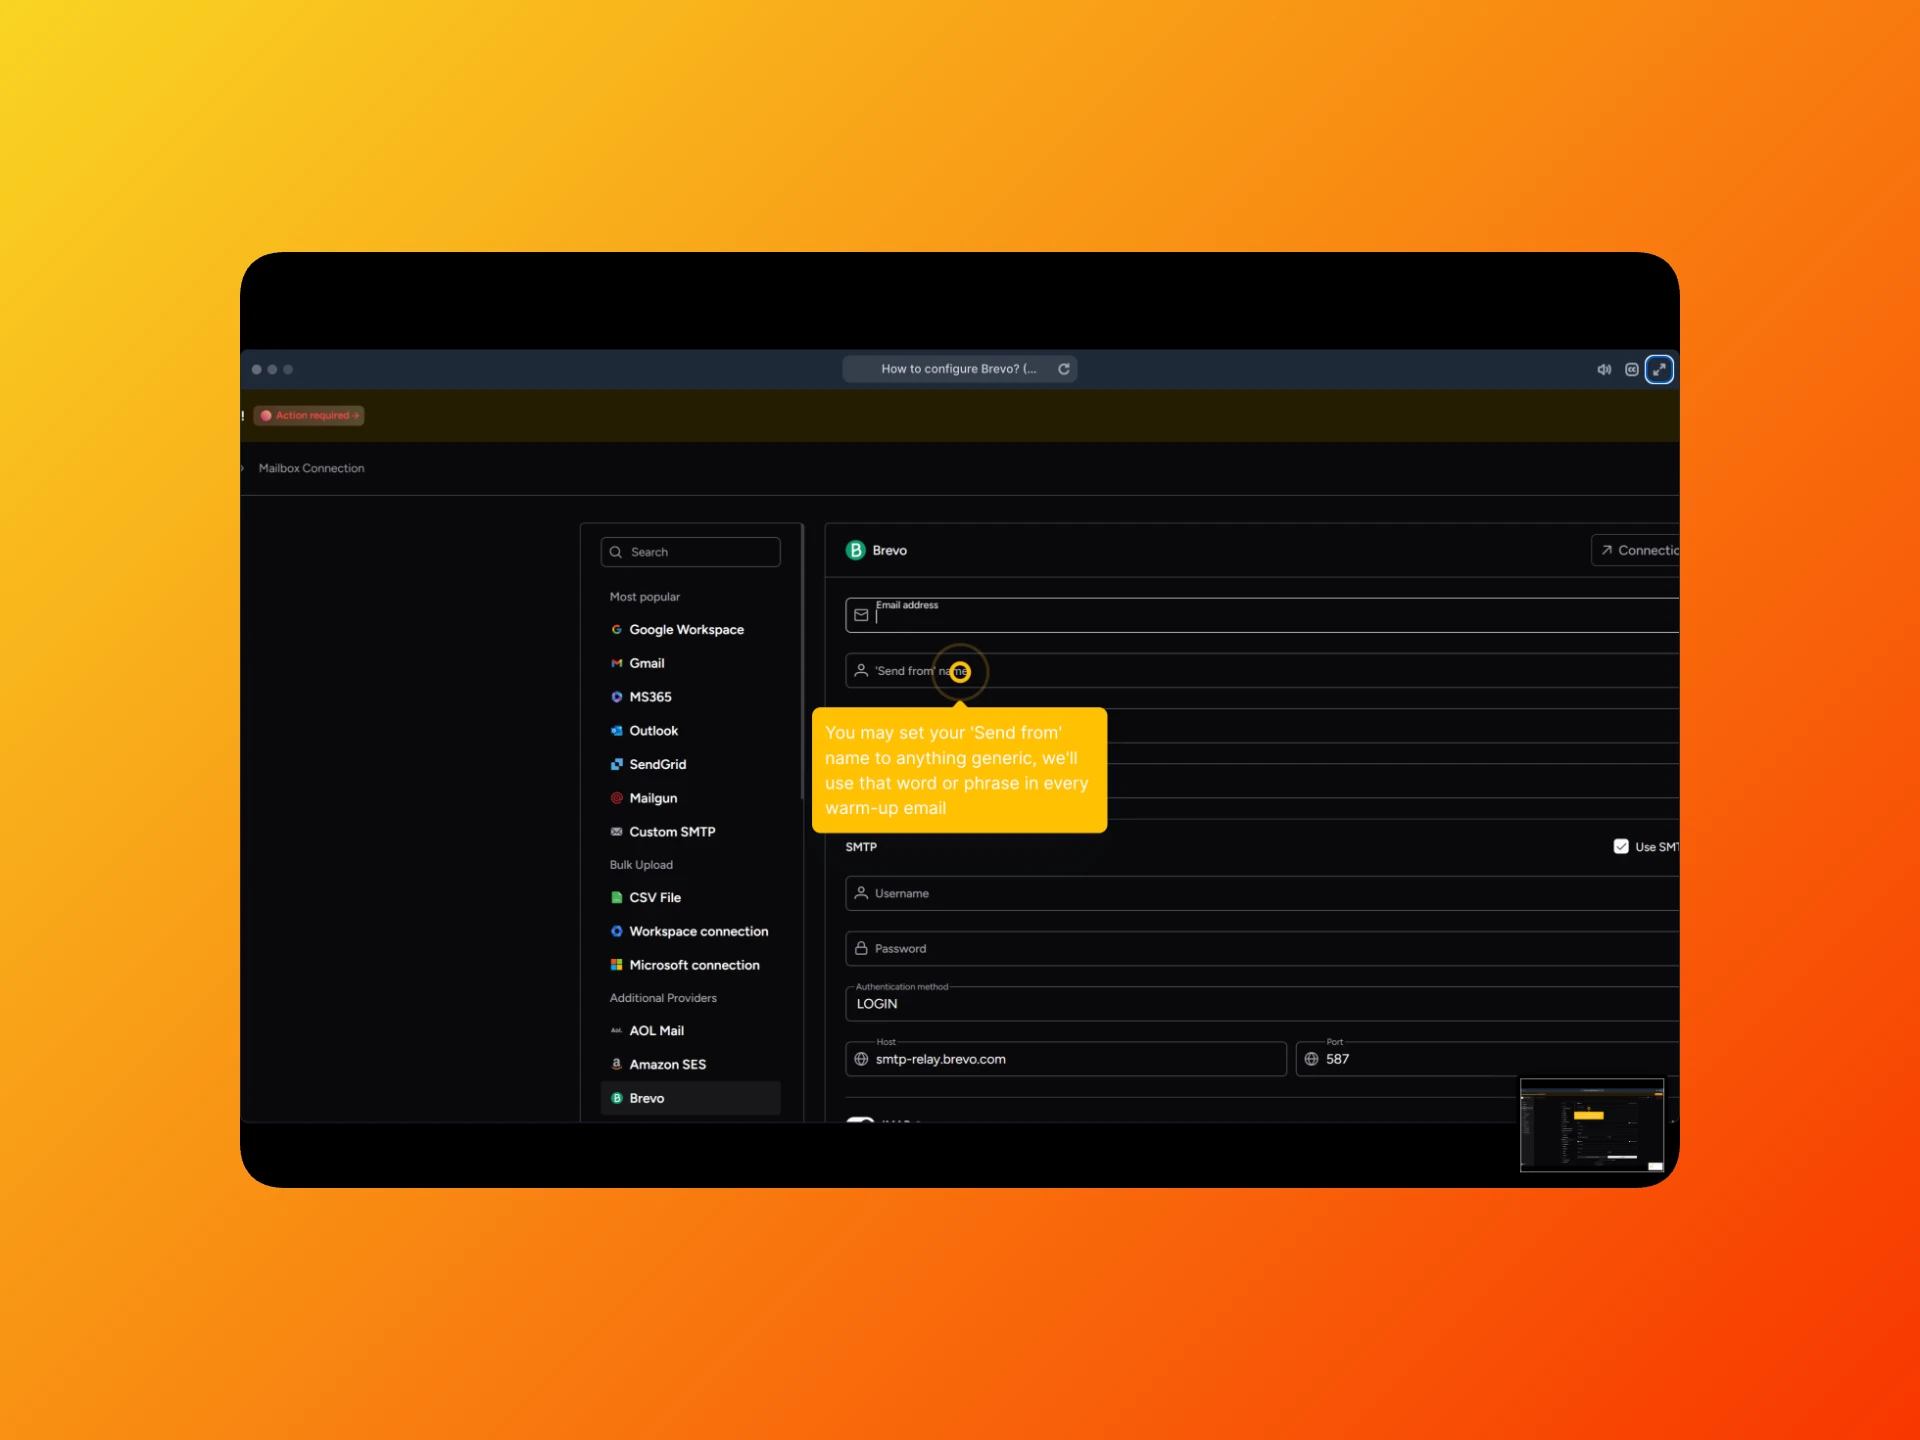
- Set your Send From name. You can use any generic word or phrase, as this will appear in every warm-up email.
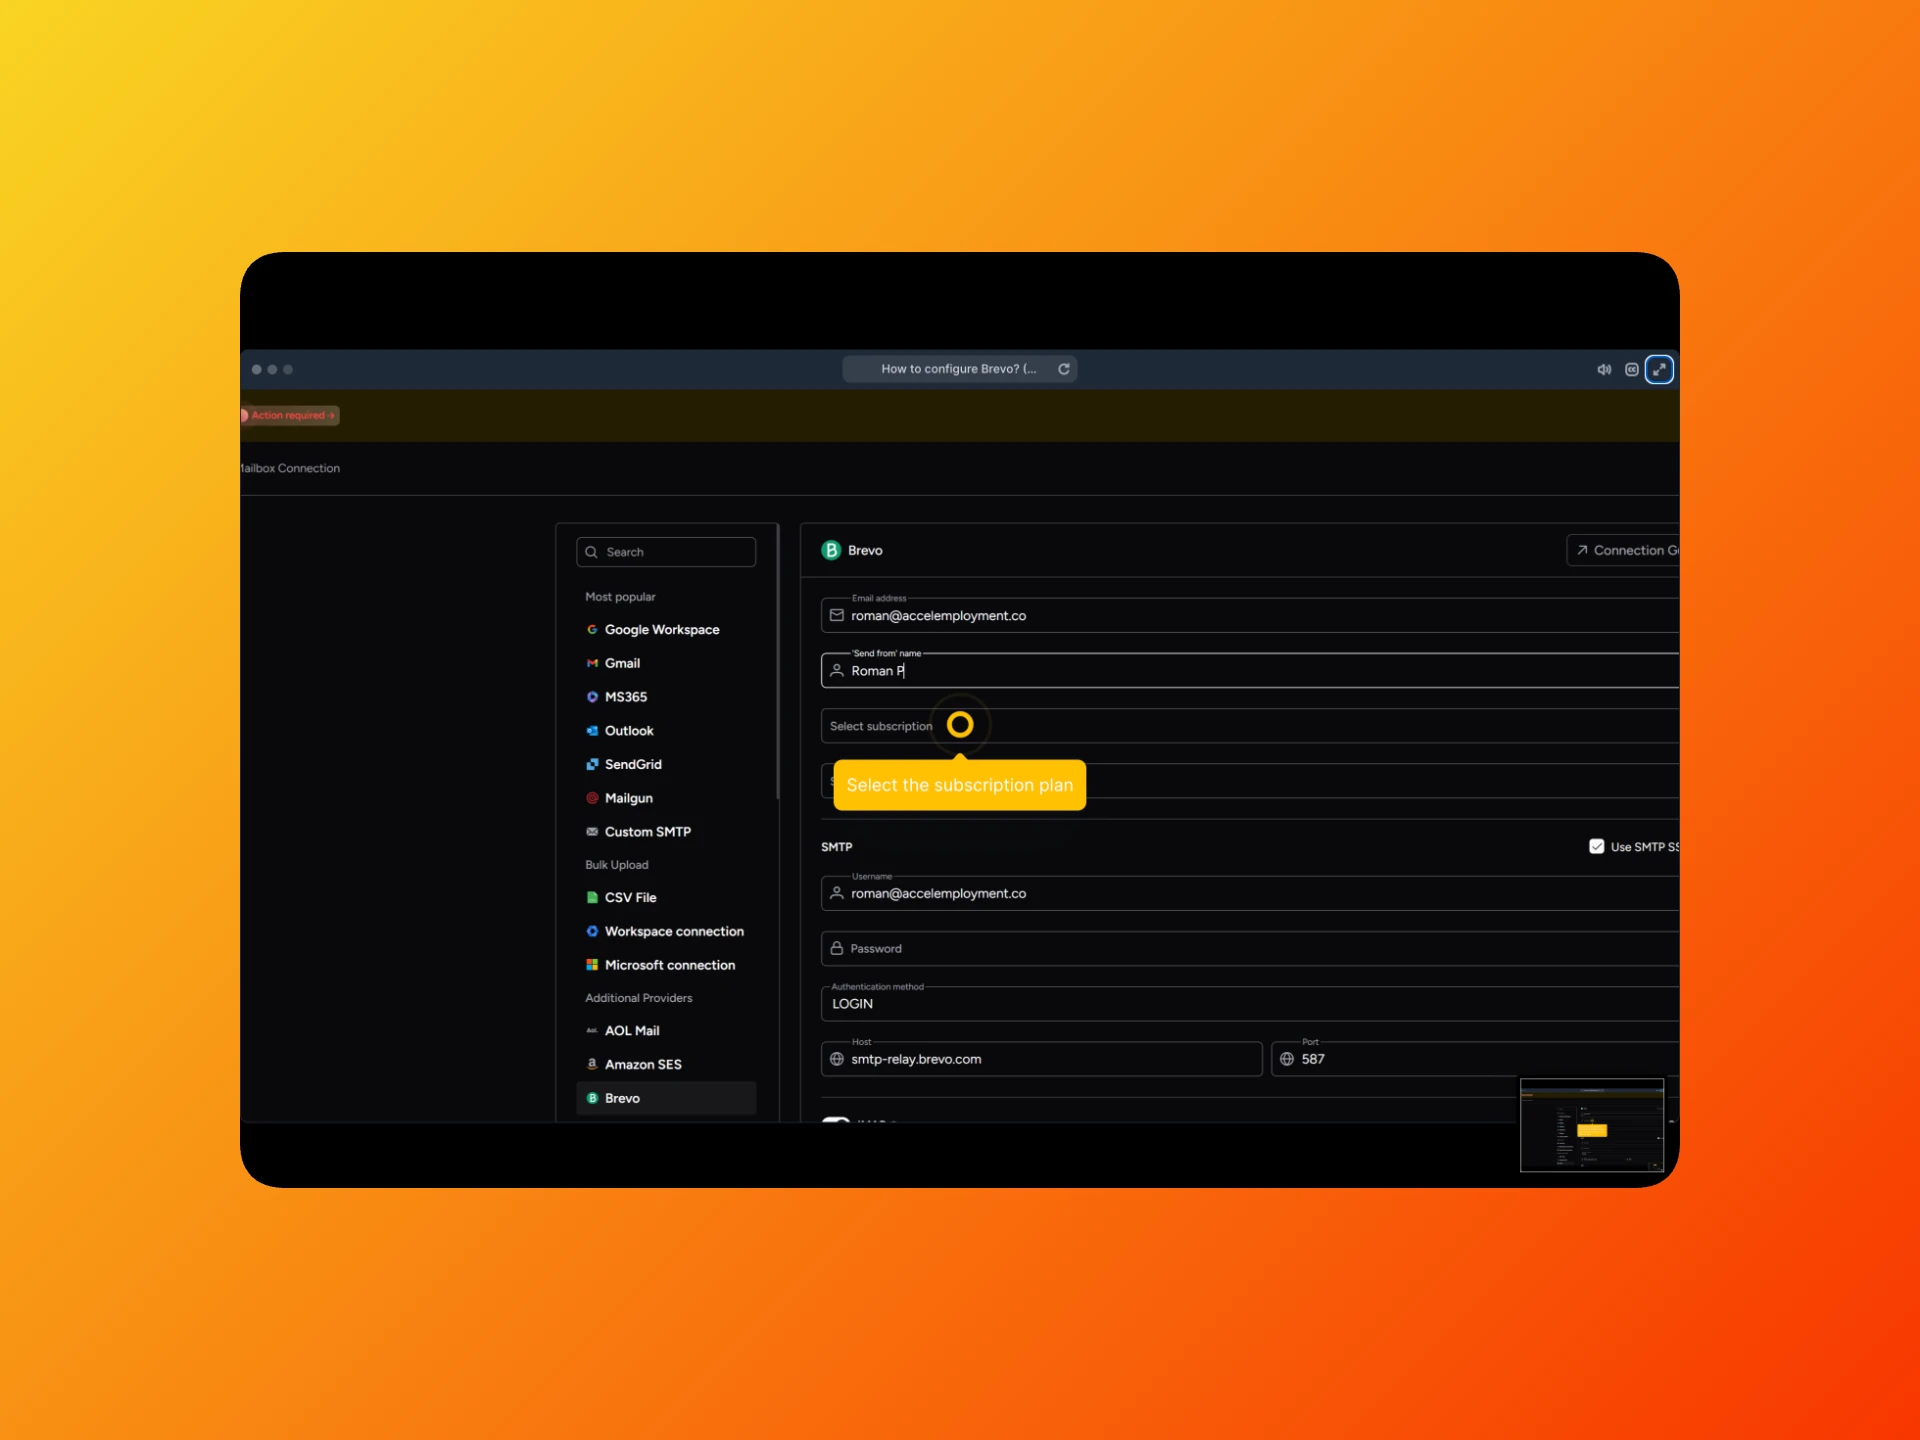
- Select your Warmy subscription plan.
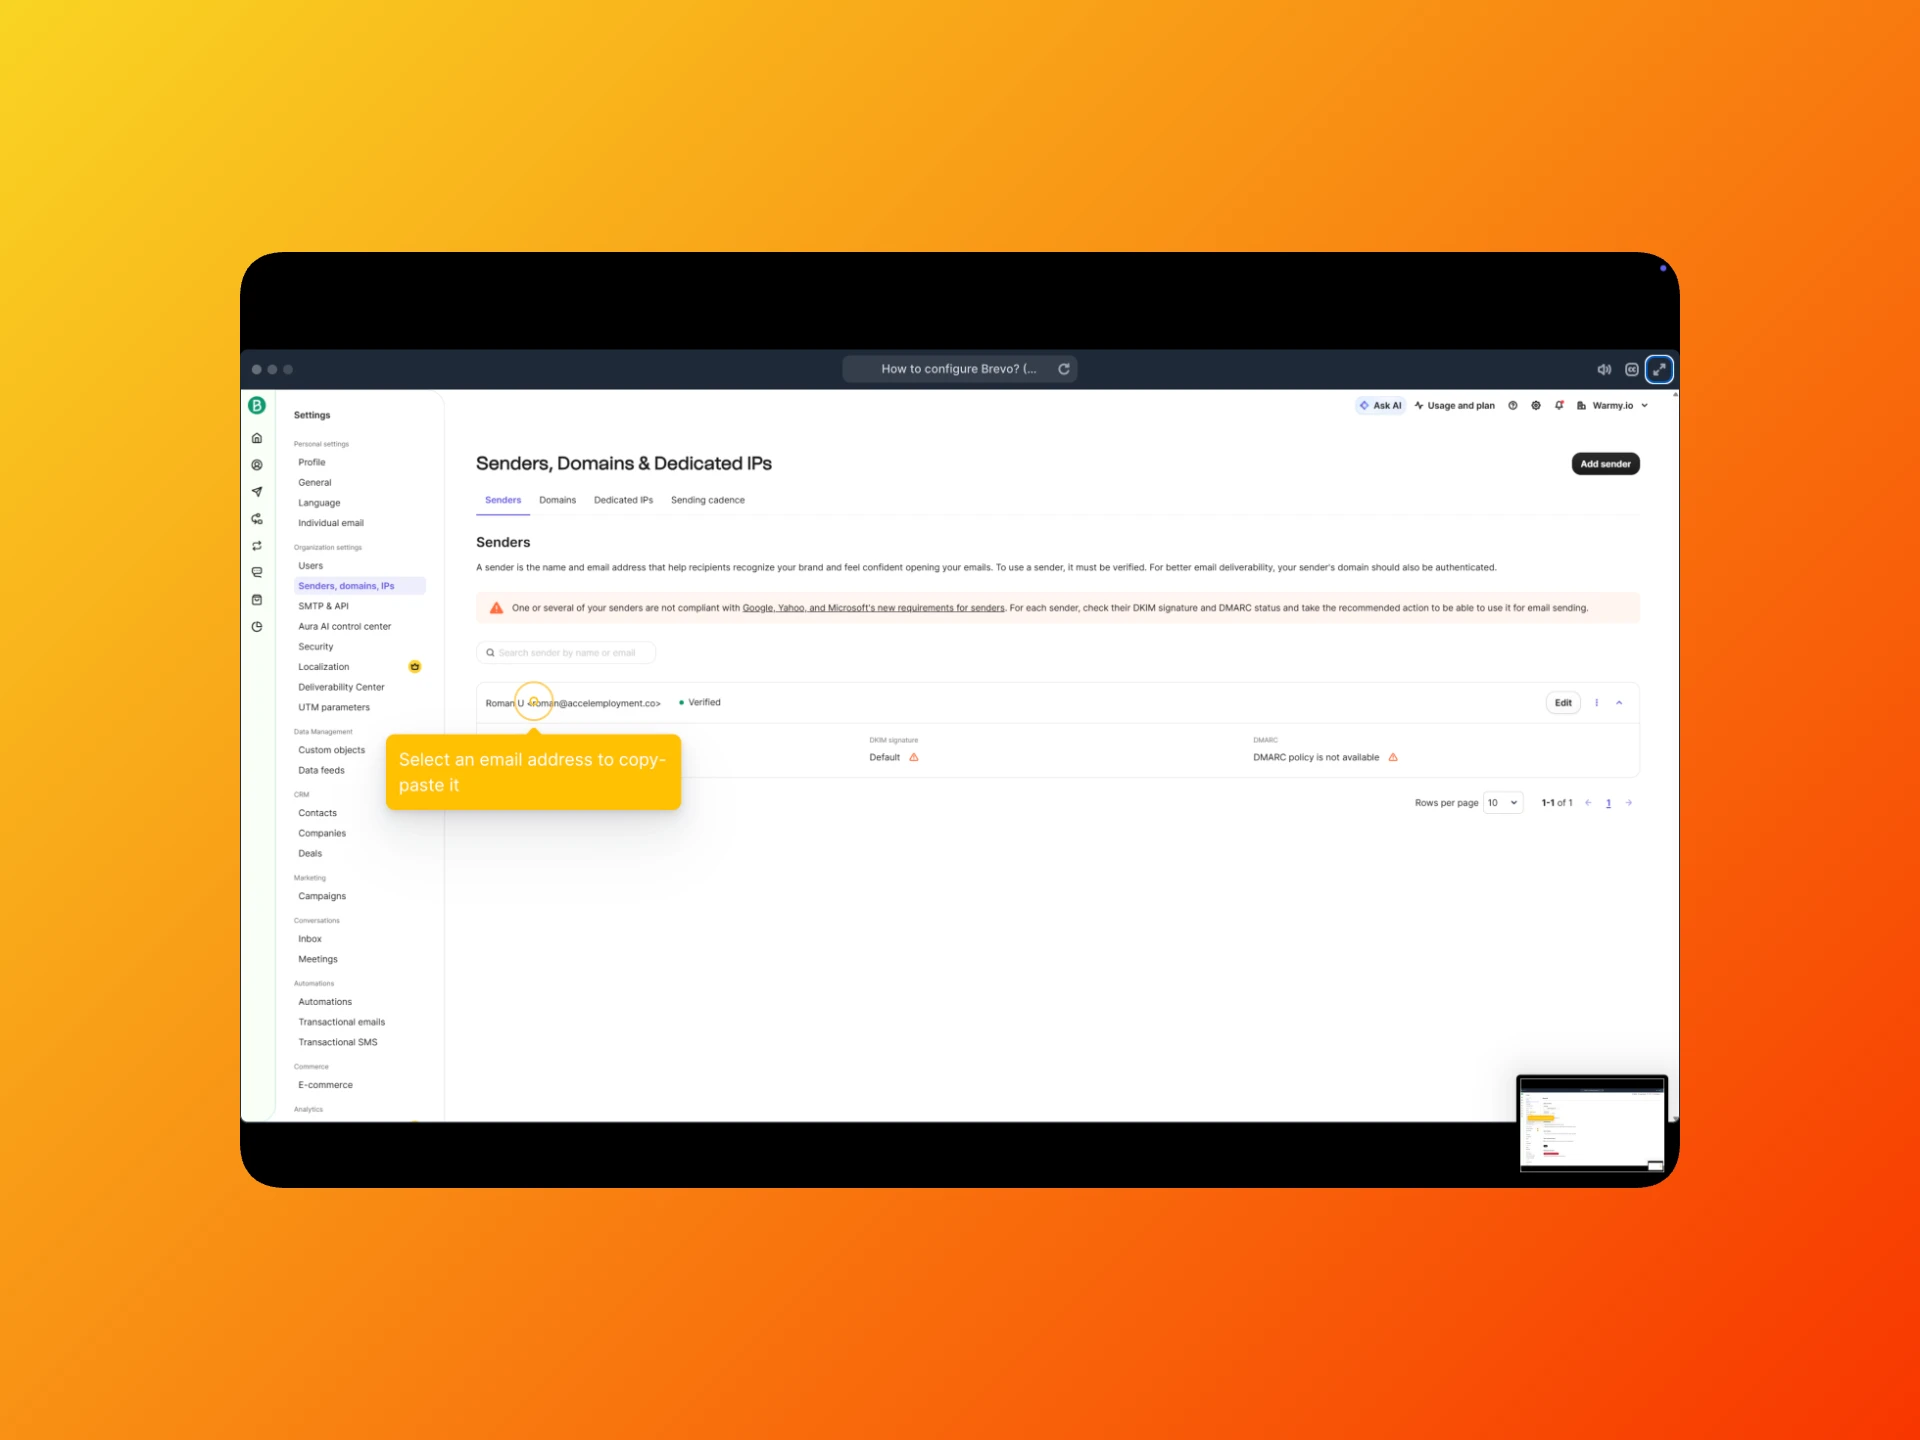
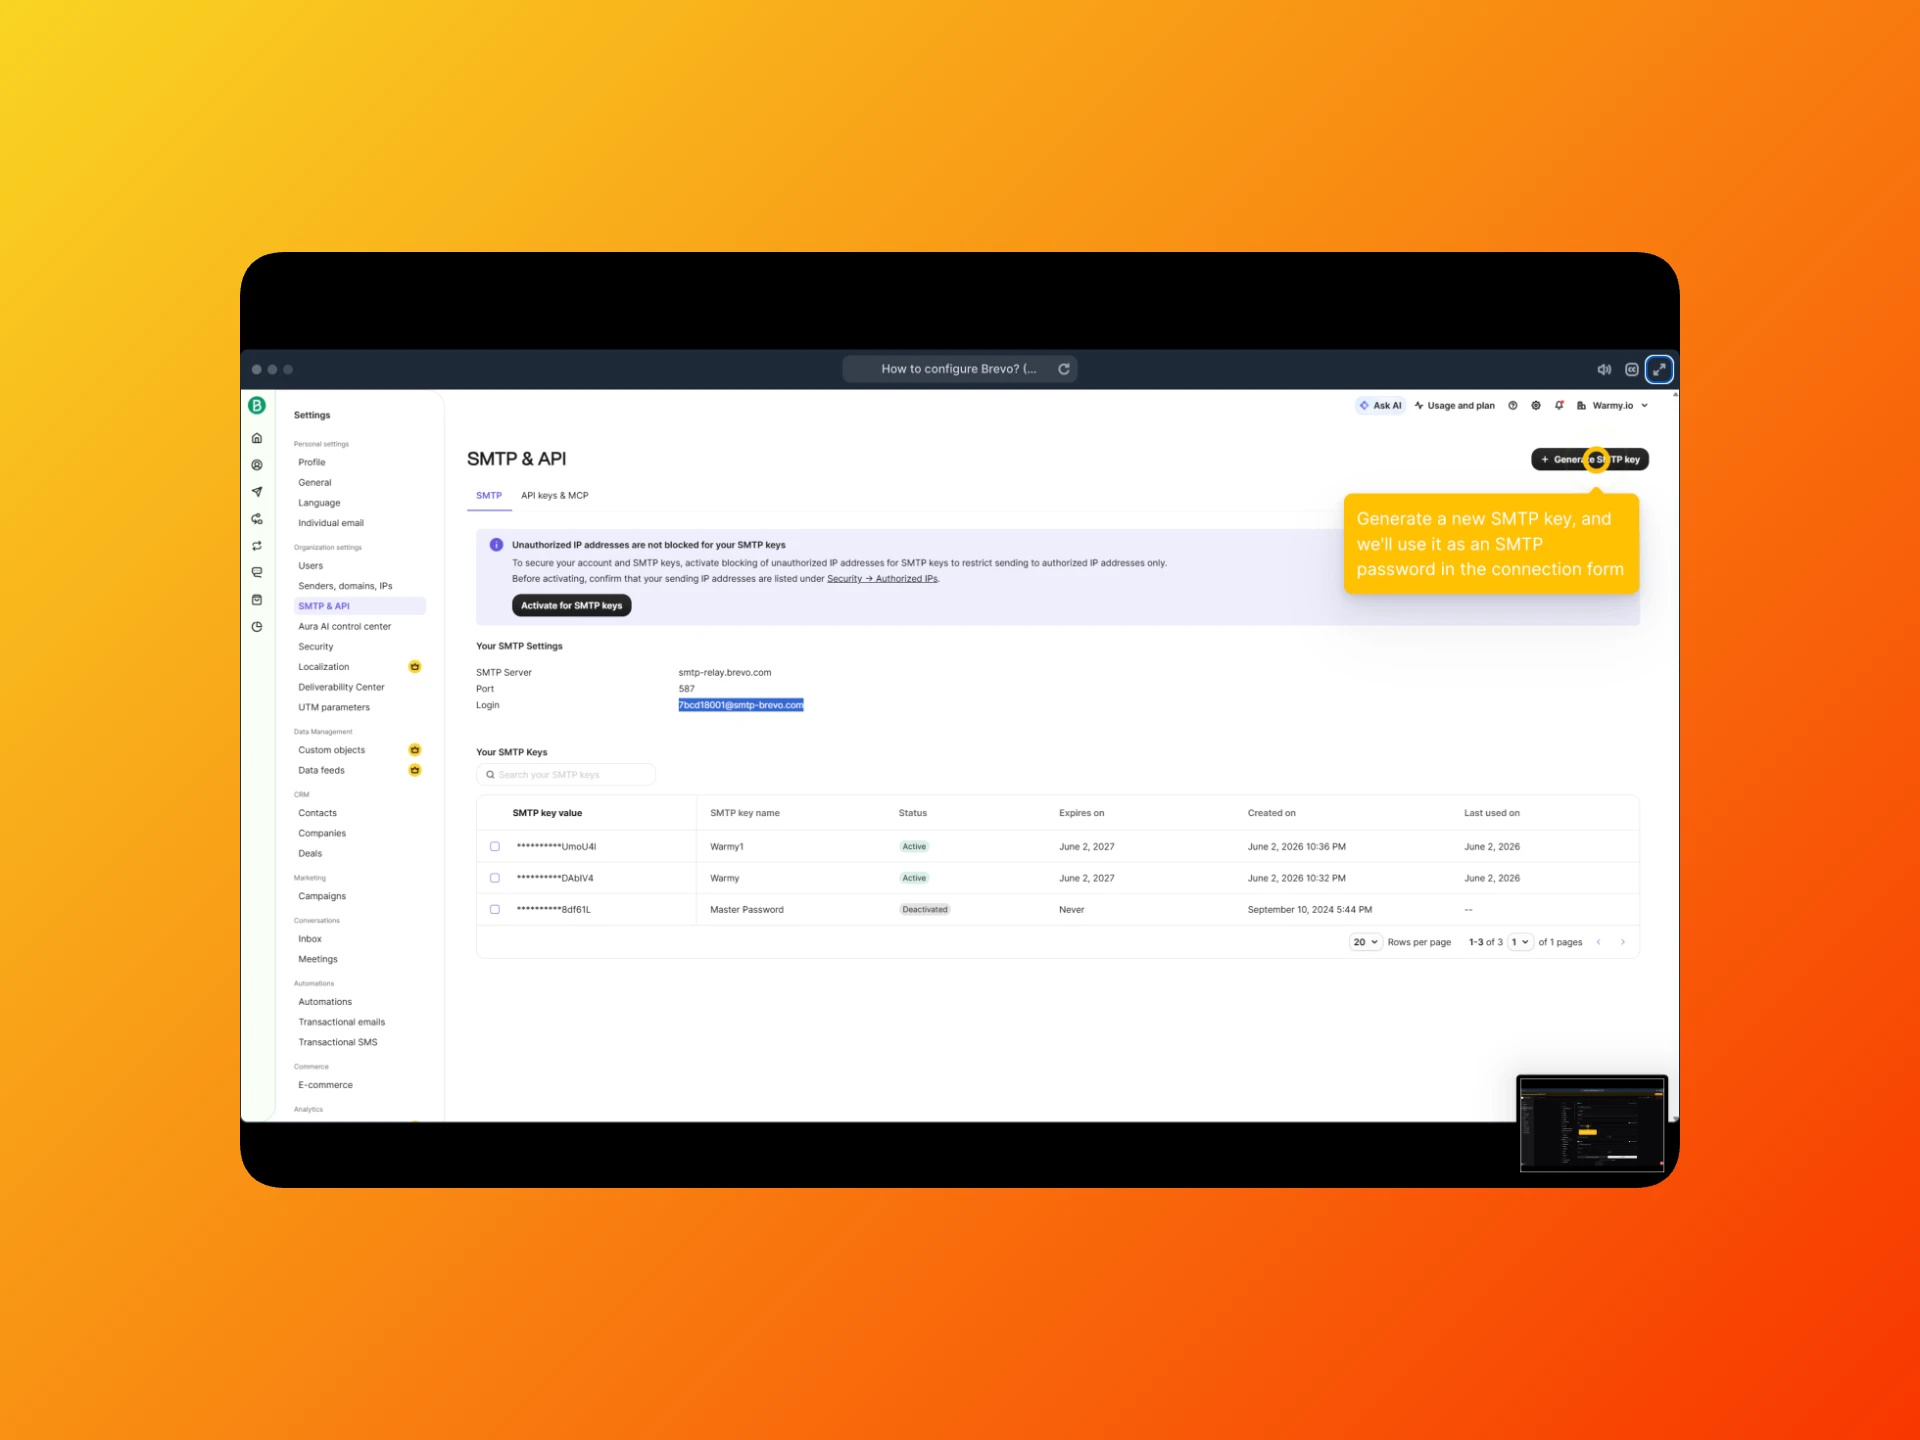
- In your Brevo dashboard, access your settings from the account drop-down and navigate to Senders, Domains, IPs.
- Open the SMTP & API tab.
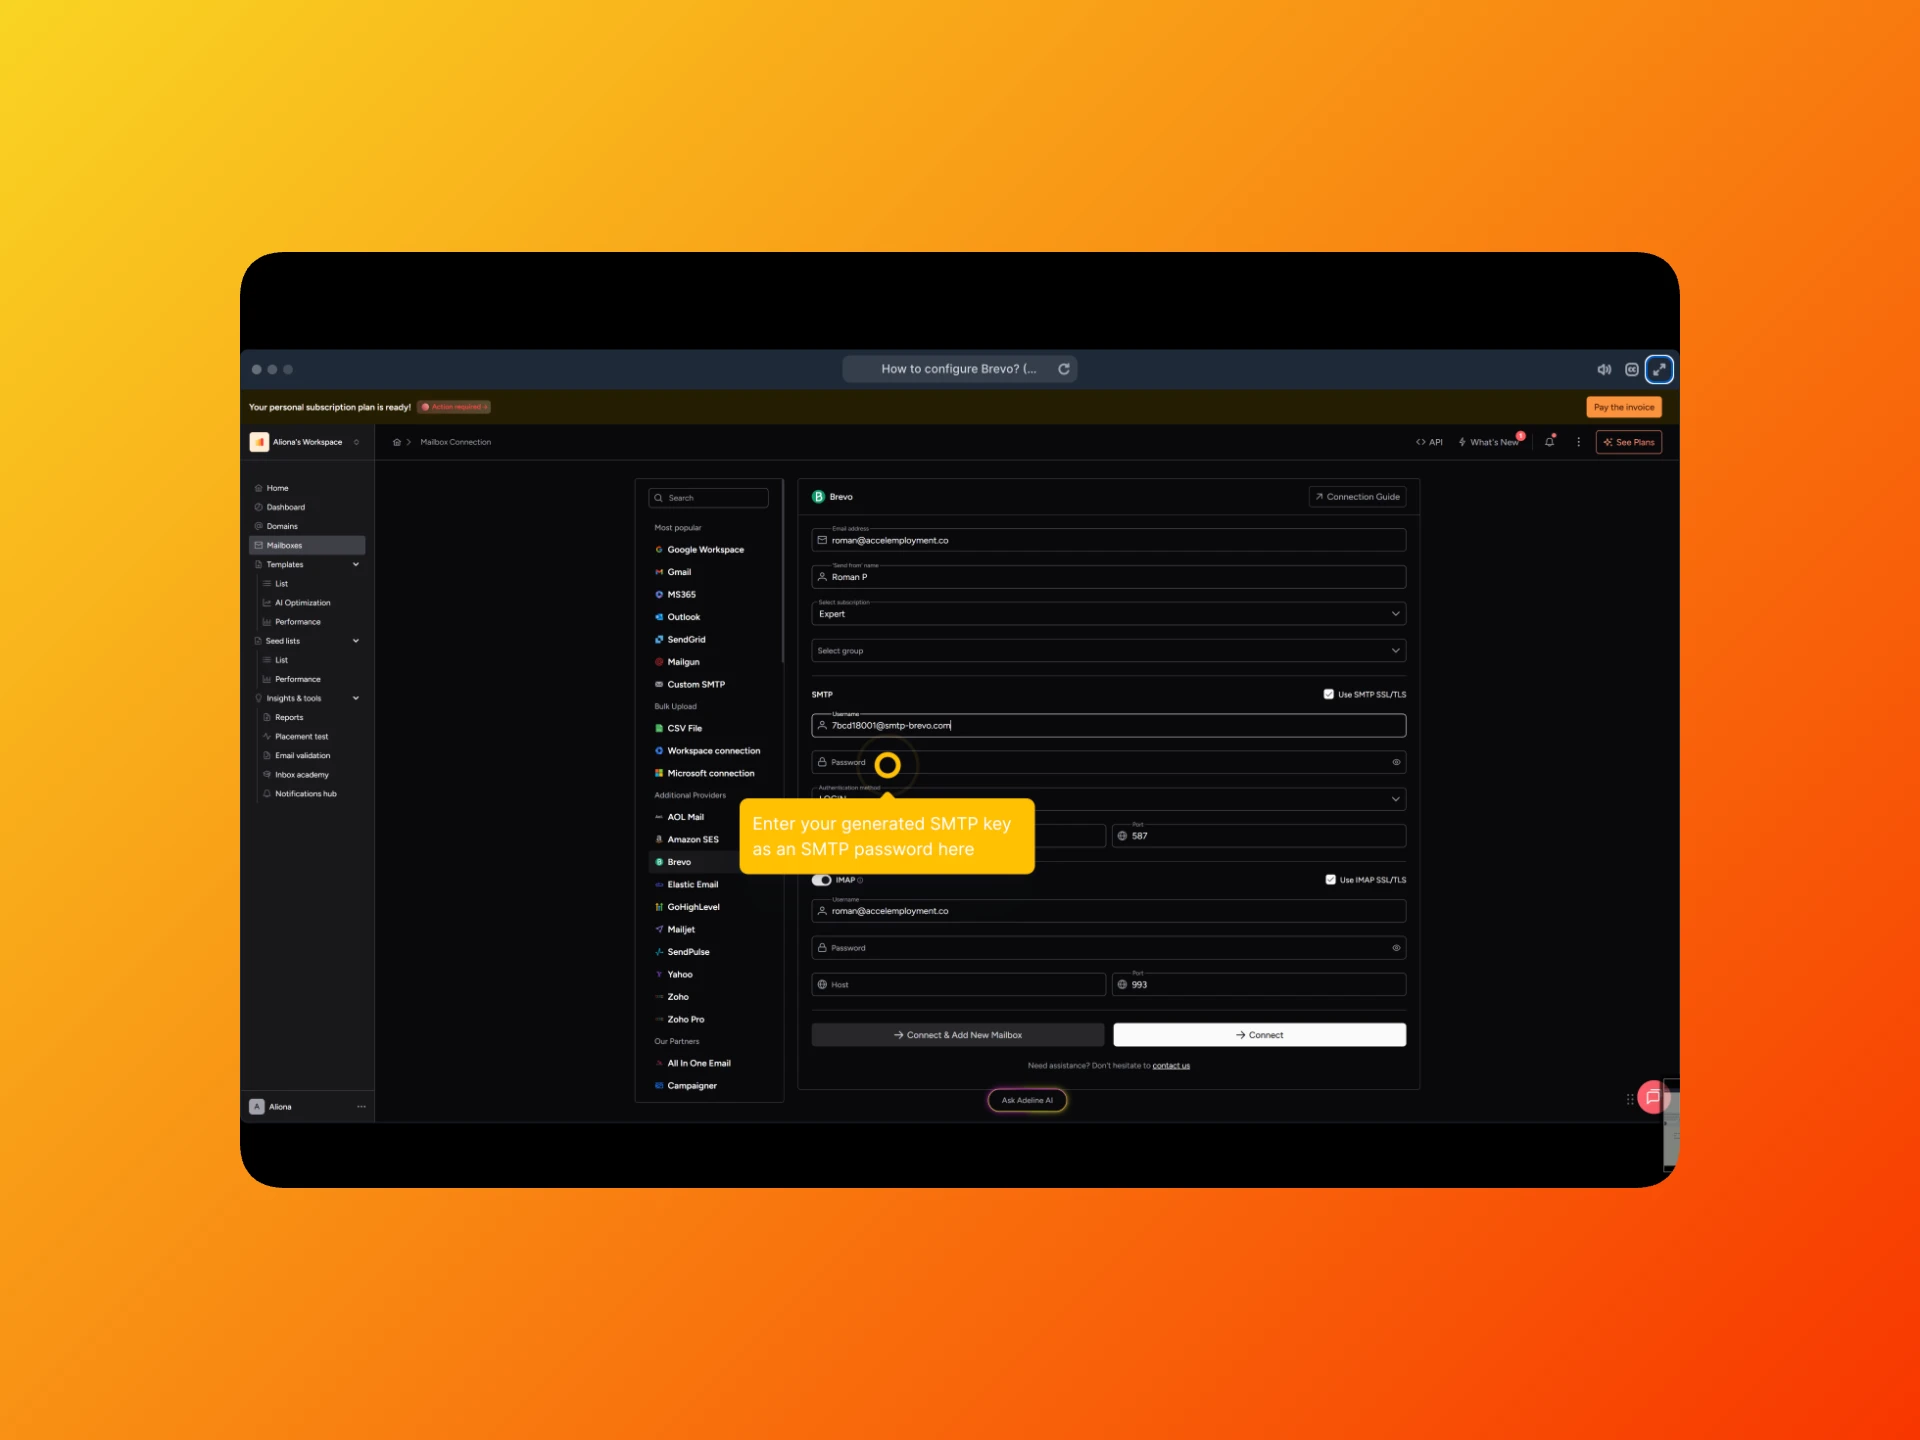
- Click your SMTP login to copy it, then paste this into the Username field in Warmy.

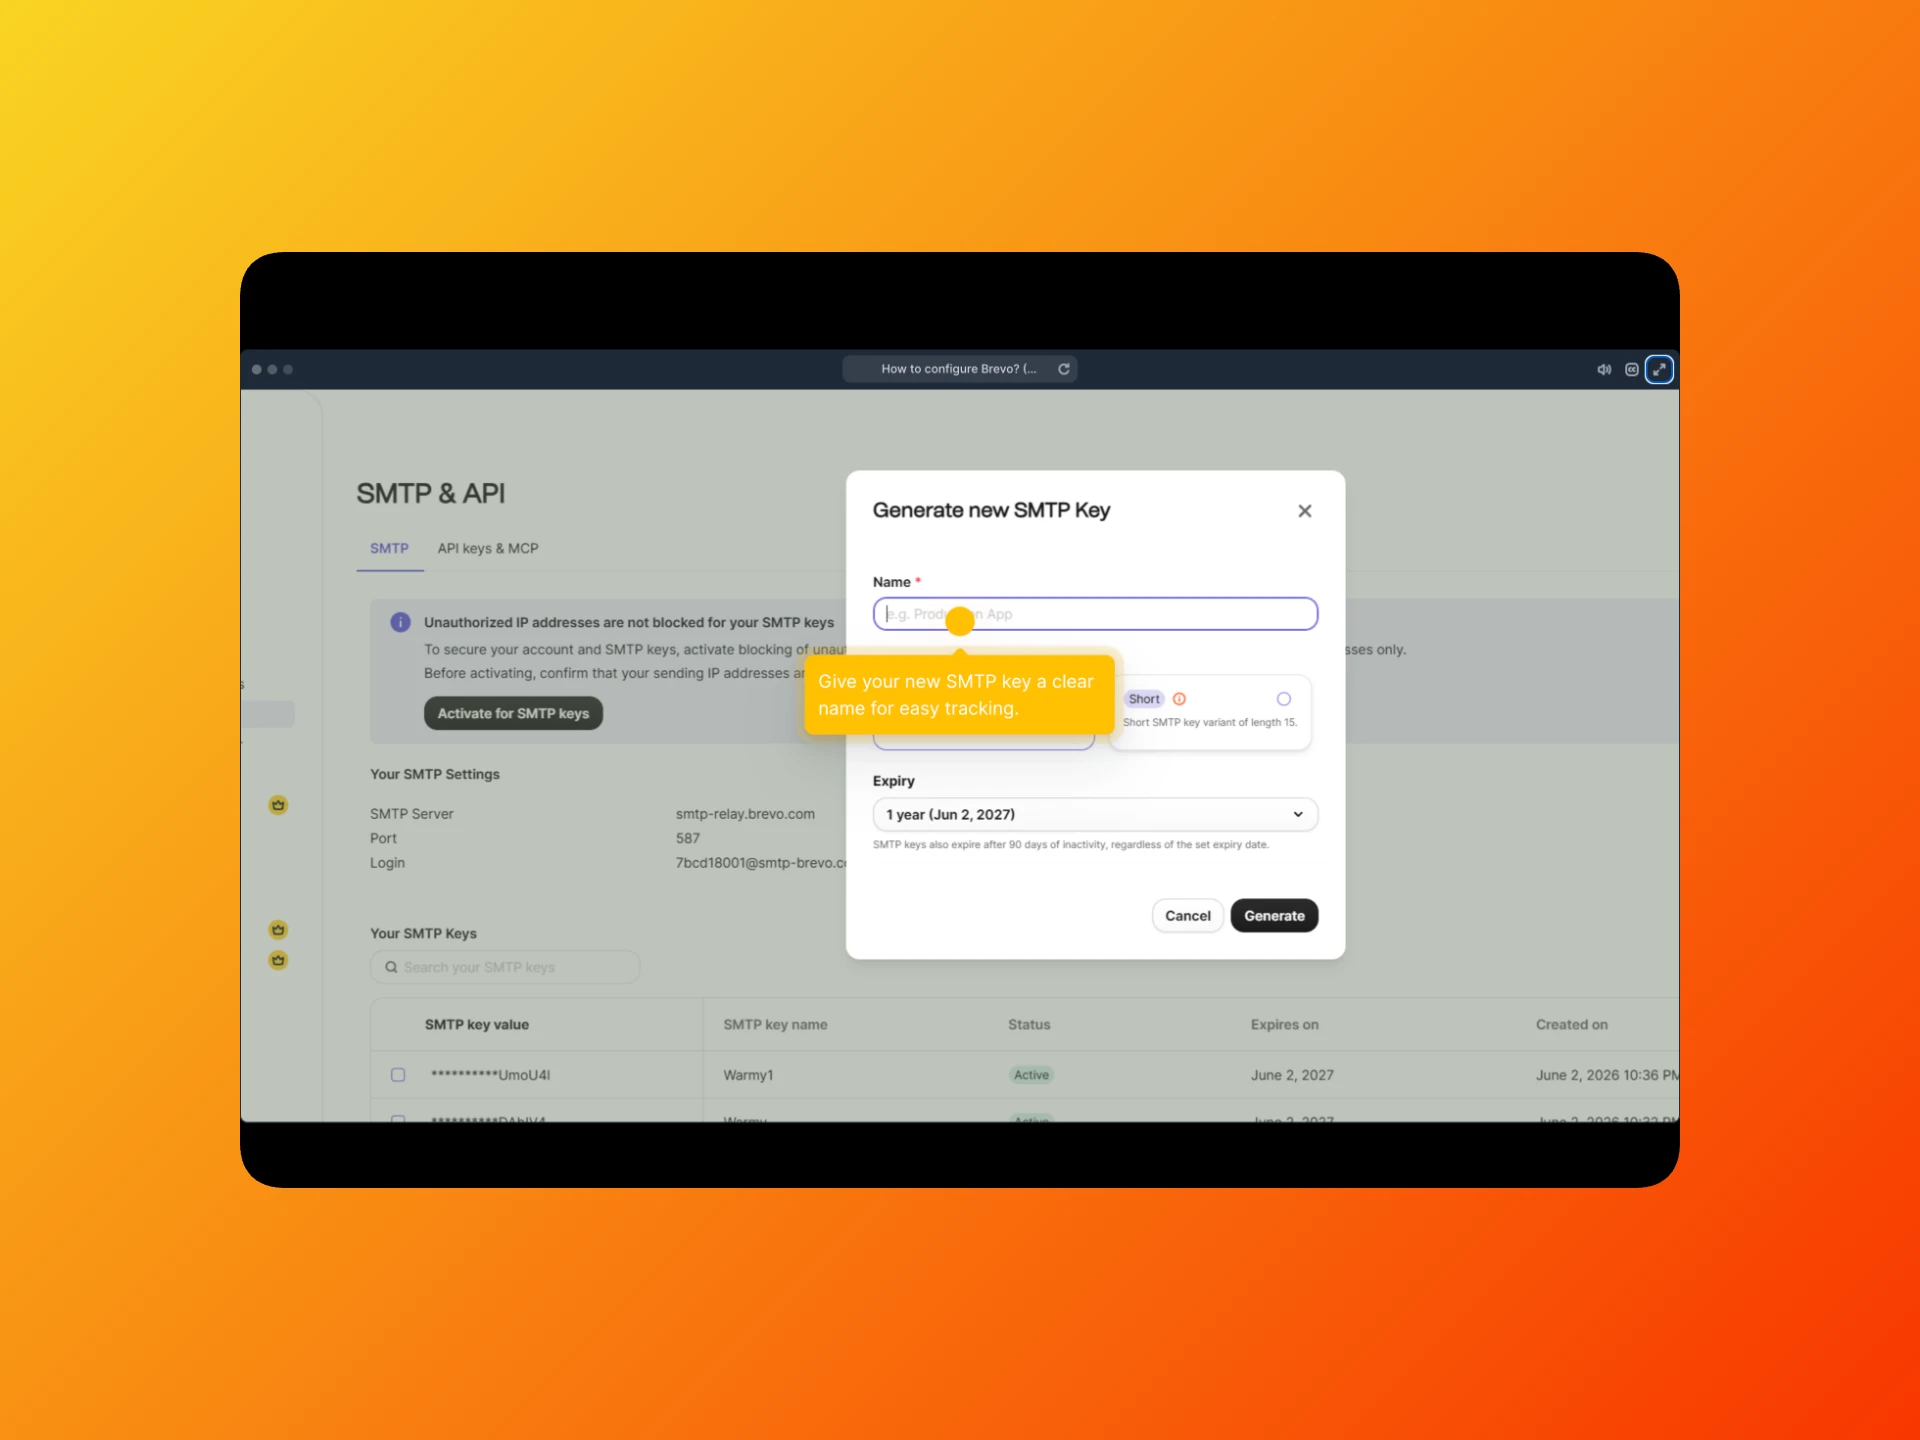
- Create a new SMTP key in Brevo. Assign it an easy name for tracking, click Generate, and copy the key. Click OK to close the dialog.

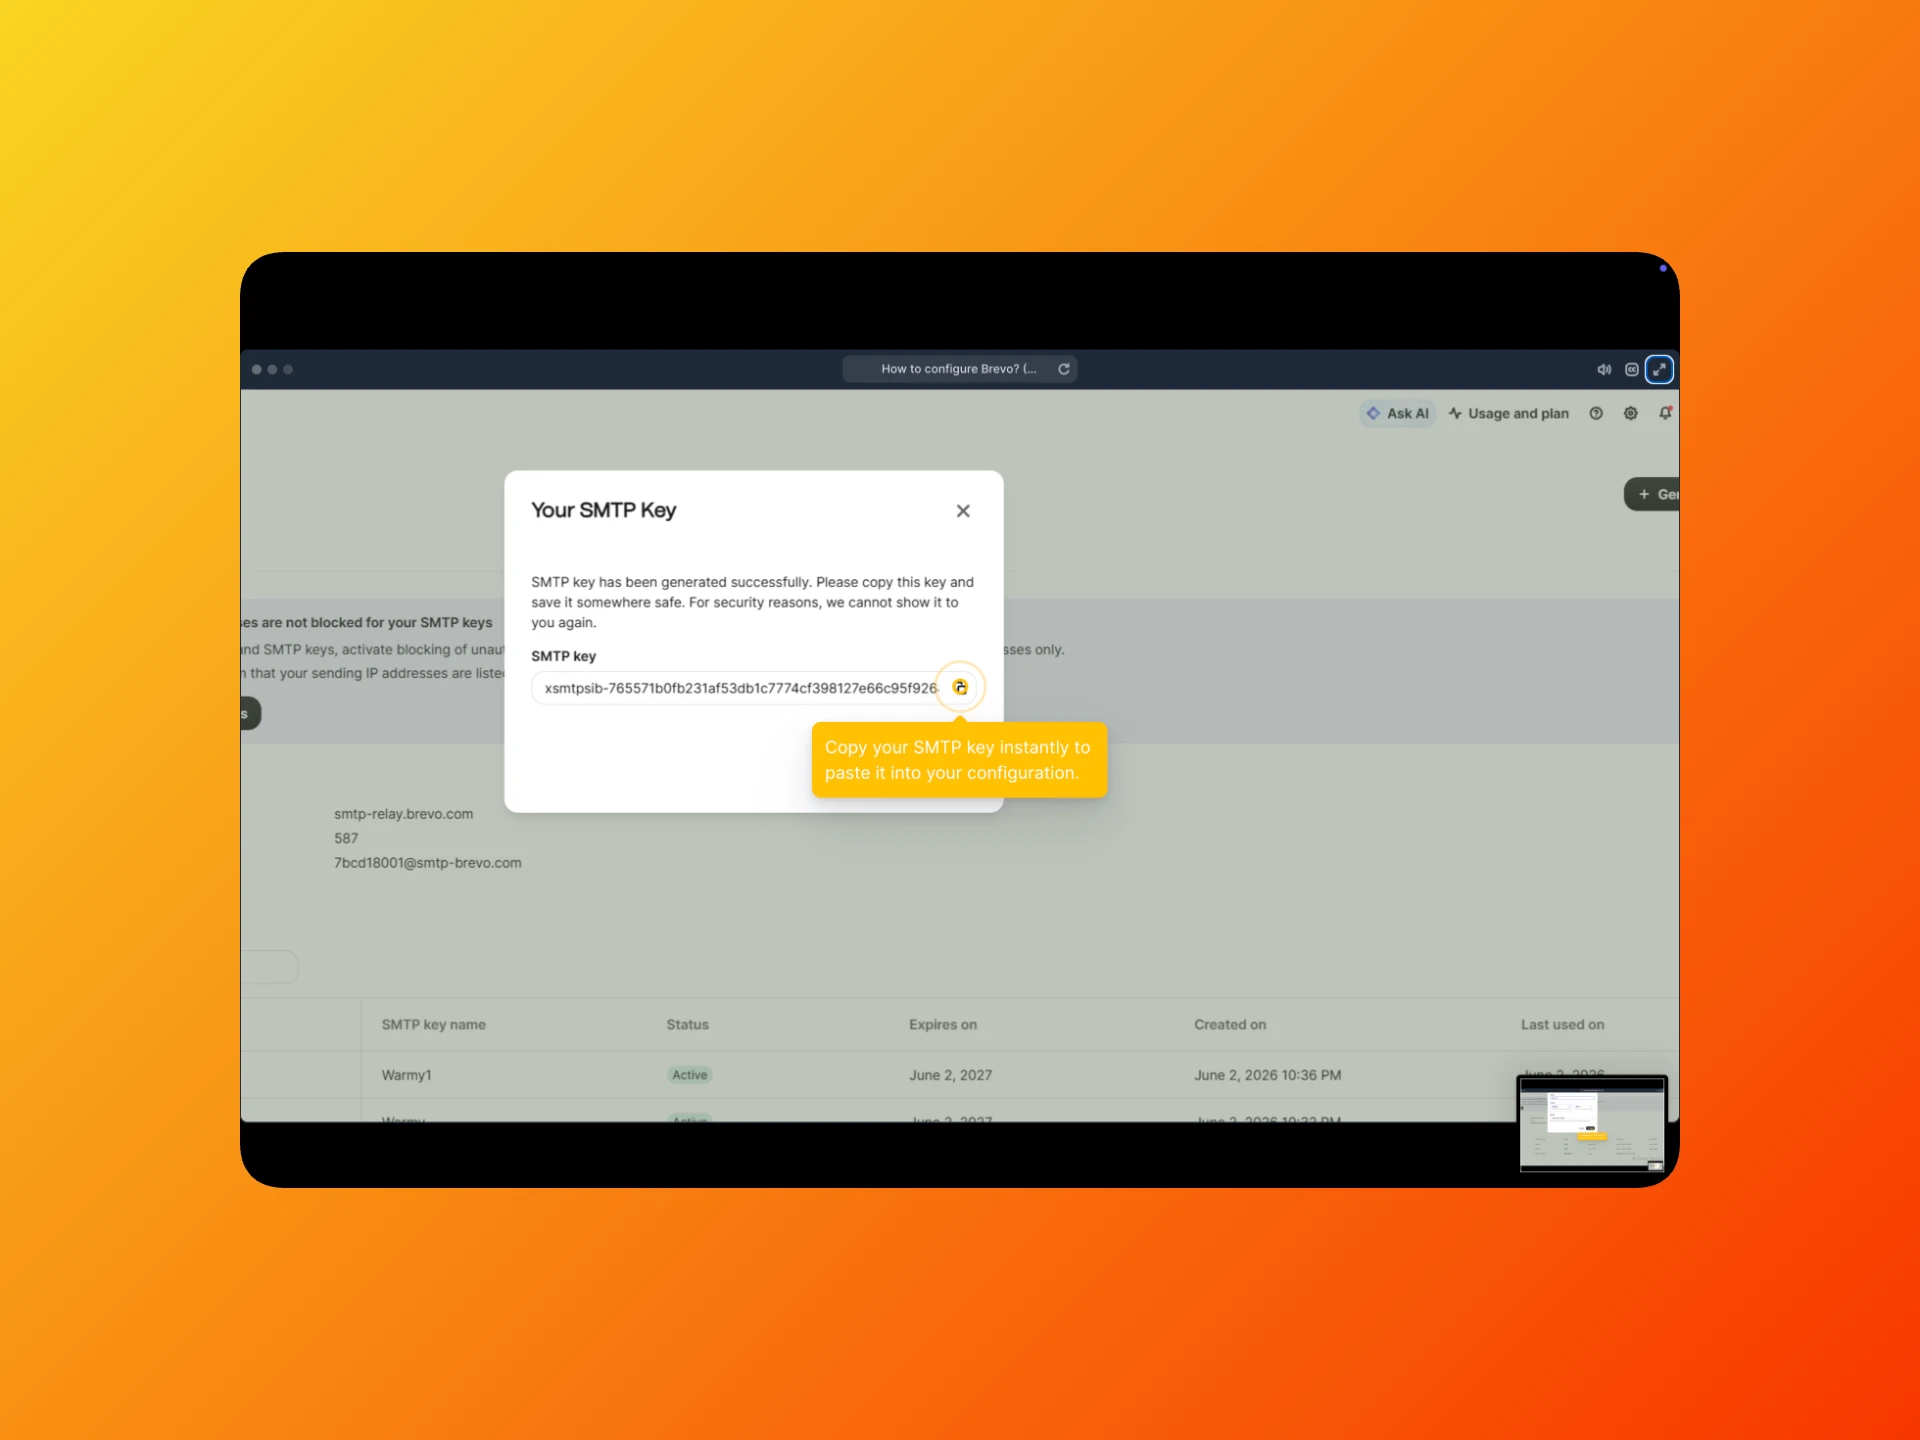

- Return to Warmy and paste the generated SMTP key into the Password field.
- Enable IMAP access to sync your incoming emails. If you do not have an IMAP setup, switch the toggle off.
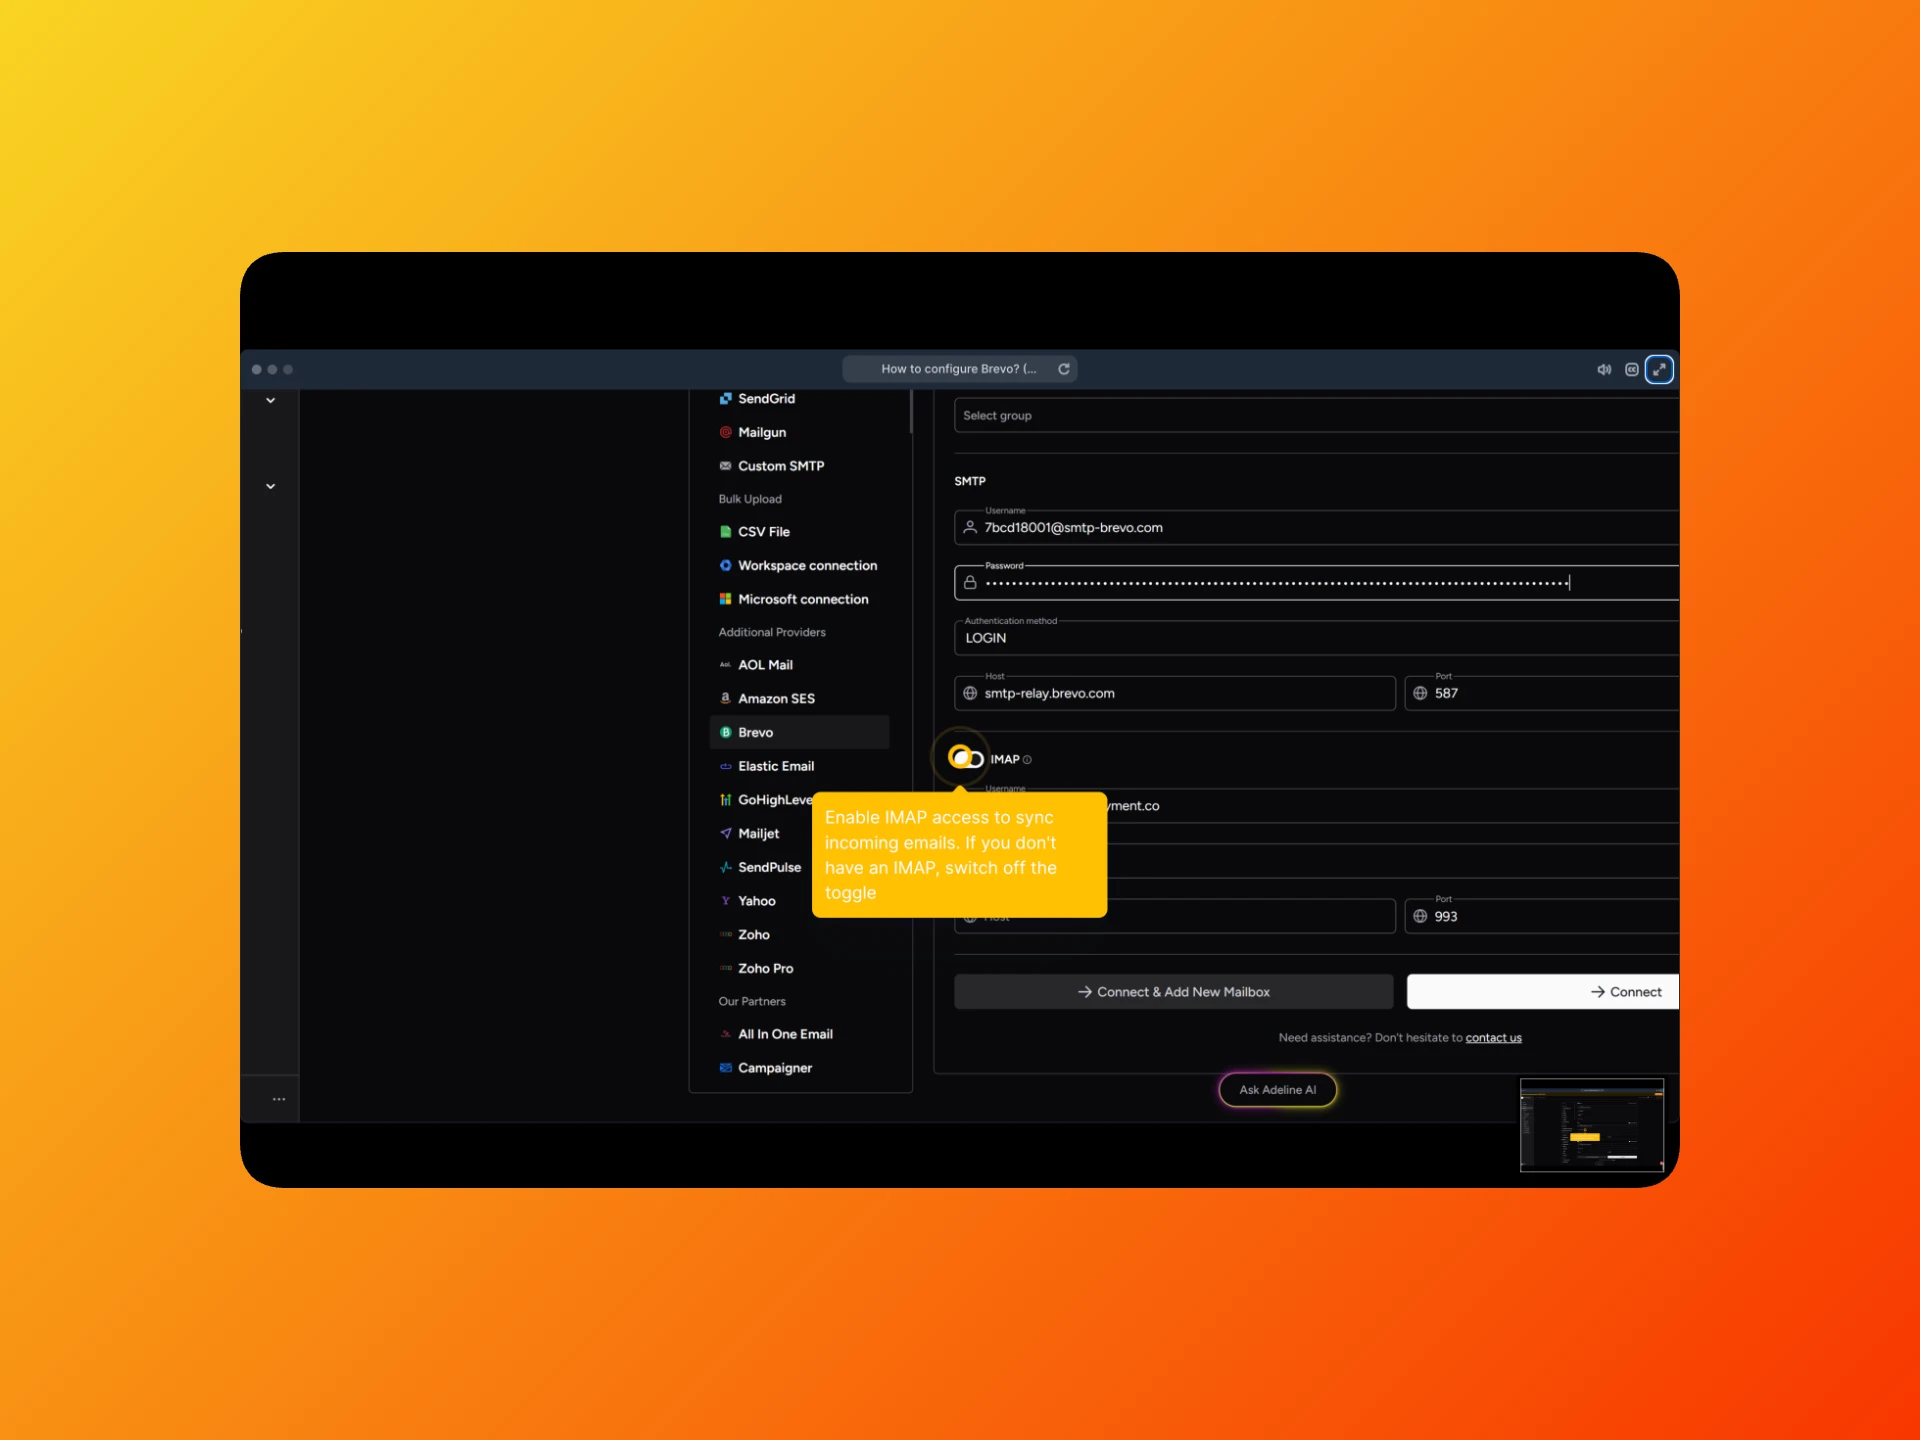
- Click Connect to link the accounts.
- Your Brevo mailbox is now successfully connected, and the warm-up process will automatically begin after a brief delay.
❗IMAP
Since Brevo does not have an IMAP server, you can use another mailbox that can accept email, such as Gmail.
But! It is very important that the email address is exactly the same as the one you specified in SMTP.
For example, if you are using a Google or Outlook server, then you need to specify imap.google.com in the IMAP host field.
In the case of other providers, you can find out your IMAP host and port in your mailbox configuration on your provider's website.
Don't have IMAP or don't need it? Just disable it!
Not it will be a matter of time to start warming it up 😊😎